Showing posts with label Green Stuff World. Show all posts

30/07/2023

Boarding a new project

 New crazy project starting now!

I have to admit that I've been working on this for some time, and my original plan was to have the whole project finished before I posted it all, but in the end I've decided to show the first part of it.

If you look back in the archives of this blog (or you've been over here long enough and have a real good memory), you'll see that back in the day I built a full 3D board for Shadespire, as I don't really enjoy playing on cardboard if I can avoid it.

I keep on talking about Shadespire and not Underworlds, because in fact I've never got the other games. That's why I took my chances and went 3D on it. Of course I wouldn't be able to storage full 3D boards for all Underworld Seasons, so I focused only on one. Given my number of games per year, it looks reasonable.

The thing is that, speaking of storage, my boards posed quite a problem. I simply couldn't make them fit in any shelf, wardrobe or whatever. So I had to make a difficult decision... and let them go.

I didn't have to put an Elsa costume on or sing let it go or anything, so it was easier than you think. I made a donation to a local club and moved on.

But moving on means... that I need a new version of the boards, but this time making them stackable! Right, of course it's the only reasonable thing I could do, why do you ask?

I need them to be fairly threedimensional, yet flat enough to allow storage. So with this conundrum I started my Shadespire.V2...

Here I go, again on my own...

The first setback I had to face is that the company that produced the boards I used the first time had unfortunately ran out of business. After some research, I concluded that my only choice was a shop called Customeeple, that produced hexed boards fit for the game. The only issue is that... they don't provide a single MDF piece, but two halves!! Right. Go see the pic above again and you'll get what I'm saying.

OK, some extra work, but still doable. I glued a reinforcement below and those hexes on top. Now I have a solid structure. Now let's think of the 3D aspect of it.

...going down the only road I've ever known...

That's the top height I was comfortable to afford. I provided five support points with the same height. So anything I stack over this board will keep horizontal. I checked several times, trust me :D

Well, let's add some salty details. As in my previous iteration, I'm marking the starting positions on the board with crystals; or more properly speaking, Wyrdstone. What can I say, I'm still oldschool. I added some skulls and rocks too, for some warhammerical ambientation.

No element can get higher than the five designated support points

Time for texture. Just DAS putty:

No need to cover everything, you just need to give an impression of an irregular field

Then I added sand, fine gravel and stuff

The same, but in the sunlight

The areas without sand will be some puddles, as this board will look like some puny marshes or something. Now it was time for some colour. I have only one trick here: throw all you have on the board!

You can't have enough tones of brown. Mix and try everything

After proper drybrushing to provide some homogeneisation, I painted the puddles. I had some doubts here. I should have painted them brownish, but then there wouldn't be any kind of visual contrast and it all would be too dull. So I sacrificed realism for conventionalism, and settled for blues.

Dirty blues, with a lot of greens and browns

OK. But for now the board looks like a weird desert. All that water calls for at least some grass...

So some grass it is!

With some true natural daylight

The same, but inside, so you can compare

I also added some bushes here and there

You may have been asking what are those three weird sticks on a row supposed to represent. Well, my intention was to have an old fence all shattered. All these pieces come from a Renedra kit.

I hope they finally make sense!

Let's have a look at the whole board:

Finally coming along

I mean, I could totally play here

I would ordinarily declare this board finished. But not today. I have a confession to make. I had been collecting falling leaves during all the Autumn, and using this puncher by Green Stuff World:

It can get repetitive, but the results are worth of it

The good thing of going out with the kids is that no one will judge you if they see you collecting hundreds and hundreds of leaves. I guess that seeing a bearded adult doing the same might look a little more weird. But I have also done it though.

I mean, I need a lot of leaves.

I know what you did last Autumn

I'm not showing the final bag I ended up with because it's ridiculously big even for me XD

Now it comes the time to apply the leaves on the board!

One by one, with a tiny drop of superglue

I even wanted to add more, but I had no sanity points left for it

You may probably come with an easier solution, but in the end this method worked for me, as it gave me full control of what I was doing and had no leaves unglued whatsoever.

Just a close-up

And again, an outdoors shot of the board, now definitely finished

This is what playing on it will look like

Final shot

I'm trying to find a balance between an hexed board (where you can actually see the hexes and have no misleadings about the tile your mini is on) and a natural, visually appealing display. I'm learning a lot and will definitely bring some of these techniques to future boards.

But for now what can I say? One done, three more to go! I don't know when will I start the second one, but I think I have some ideas of what I want to do...

05/06/2019

Opening doors to new experiences

A quite evident issue about building the sci-fi mining town is that you need it to look like an actual place to live. Not necessarily to live decently (this is a Rogue Trader-WH40K kind of project after all!), but at least to have something more than mere square boxes and line of sight blockers. A part of it, of course, is to add some doors to the boxes, so they upgrade to houses :P

Remember, this pic says it all for me. This is what I am aiming for
Back in the day I got some of the Trash Bash sci-fi doors by RoeBeast, but I used all of them. I tried to look if I could get a few more, but I wasn't able. Besides, I was thinking I would need quite a lot! So what could I do?
The solution came in the form of card and foamboard...
The Ikea approach
Right, the only reasonable way was to make my own doors!


I wasn't sure of how to get the right design. In the end I think they look too much Tatooine-like, but I think subconscious references cannot be underestimated!
If this doesn't scream sci-fi in desert, I don't know what will do

I added rivets. You can never go wrong with an excess of rivets
I can hear you. 'So, your solution is to make dozens of doors, one by one'. Though that sounds like me indeed, I currently lack both time and motivation to do so. What I would need here is the way to cast these. I've been interested in learning resin casting for ages, but it always looked overwhelming for my puny skills. But a few weeks ago I discovered this acrylic resin for dummies, by Green Stuff World. The 'dummies' is mine, but it's an accurate description, trust me. Make a mould, mix the powder with water and ta-da, it's done. Witchcraft!

So there we go! I press moulded the doors:
Ooops! Unexpected setbacks

The oyumaru mould was good, but the original doors were ruined when I put them out of it. So well, apparently I have a single shot to discover if I'm doing this right...

This is all you need. Oh, and water, sure

Drum roll...
About half an hour later...

It works! IT WORKS! Mwahahahahaha!!

I'm happy with the result; the frame finally got the adobe like texture, the control pad looks reasonably good and the door itself will work. Of course this is but my first experiment, but I hope I'll get better with practice.

In fact I've done this third, simple door

And I'm about to experiment with control pads and an junction box

Well, but for the moment, after a lot of half hours... :P

I hope I have enough doors for a few buildings!!

Well, let's see how they fit in the town! I had to blend them in with some das putty and I had to fix some minor texture and filling issues:

Now this looks more like a thriving neighbourhood
I also remembered I had a few MDF doors by MadMechaGuy. I got them ages ago and totally forgot about them until the other day. I hope the mix works in the end.

Doors! Doors everywhere!
Ehm. Yes, right. There's a door leading to nowhere up there. Not that I just needed to fill that empty surface. Let me elaborate. I'm also making this:

A comm array? A void shield control pad? Who knows!

Still in progress, I want to add some details
So the thing is that I cut a tiny gap just under the frame of the door, allowing me to place the walkway this way:

It's a precautionary measure about storage to avoid unnecesary damages

It's not the only weird door I have...

Yeah, I should really call for a professional architect

I guess I'll have to properly texture and paint the wall before I add all the stuff I'm planning, but you get an idea
This is all I have right now. I'm quite happy with the discovery of the resin, it's super easy to handle and opens a whole world of possibilities. Of course the doors are not perfect, but they work fine at tabletop distance, so I cannot ask for more.

More stuff coming soon!

11/10/2018

3Dspire

Another scenery project today. Quite a totally different one! Back to the Shadespire project for a while. One thing I knew for sure since the very beginning; I didn't want to play on plain cardboard, I wanted a full three-dimensional board.
My most obvious and closest reference was my pal Hetairoi. Go check the link, seriously. That board is [censored] awesome. You can even get a glimpse of the WIP here. You know what? Check the whole blog, you won't be dissappointed, trust me.
I knew I simply couldn't beat that kind of board, so I didn't even try. I didn't want to replicate the illustrations on the card boards, I chose to make my very own and personal design and make a more generic landscape, if you prefer to call it that way. I tried to represent an old, abandoned town, decrepit and ruined. My inspiration came from imagining an ancient place fallen into oblivion, kind of Osgiliath during the War of the Ring. It suited (slightly at least) the Shadespire theme and allowed me some creativity. In fact the only thing I had to take care of were the blocked tiles and the starting tiles.

So first question. How could this be achieved? I could have taken Heitairoi's approach, but... the guys at Collateral Studio had solved my problem in advance :)

Pretty affordable and good enough for my purpose
Well. Four boards then. I started with an easy one, just for a test. A clear board with no obstacles whatsoever. So I used DAS clay putty and a textured rolling pin from Greenstuff World:

Quick and easy
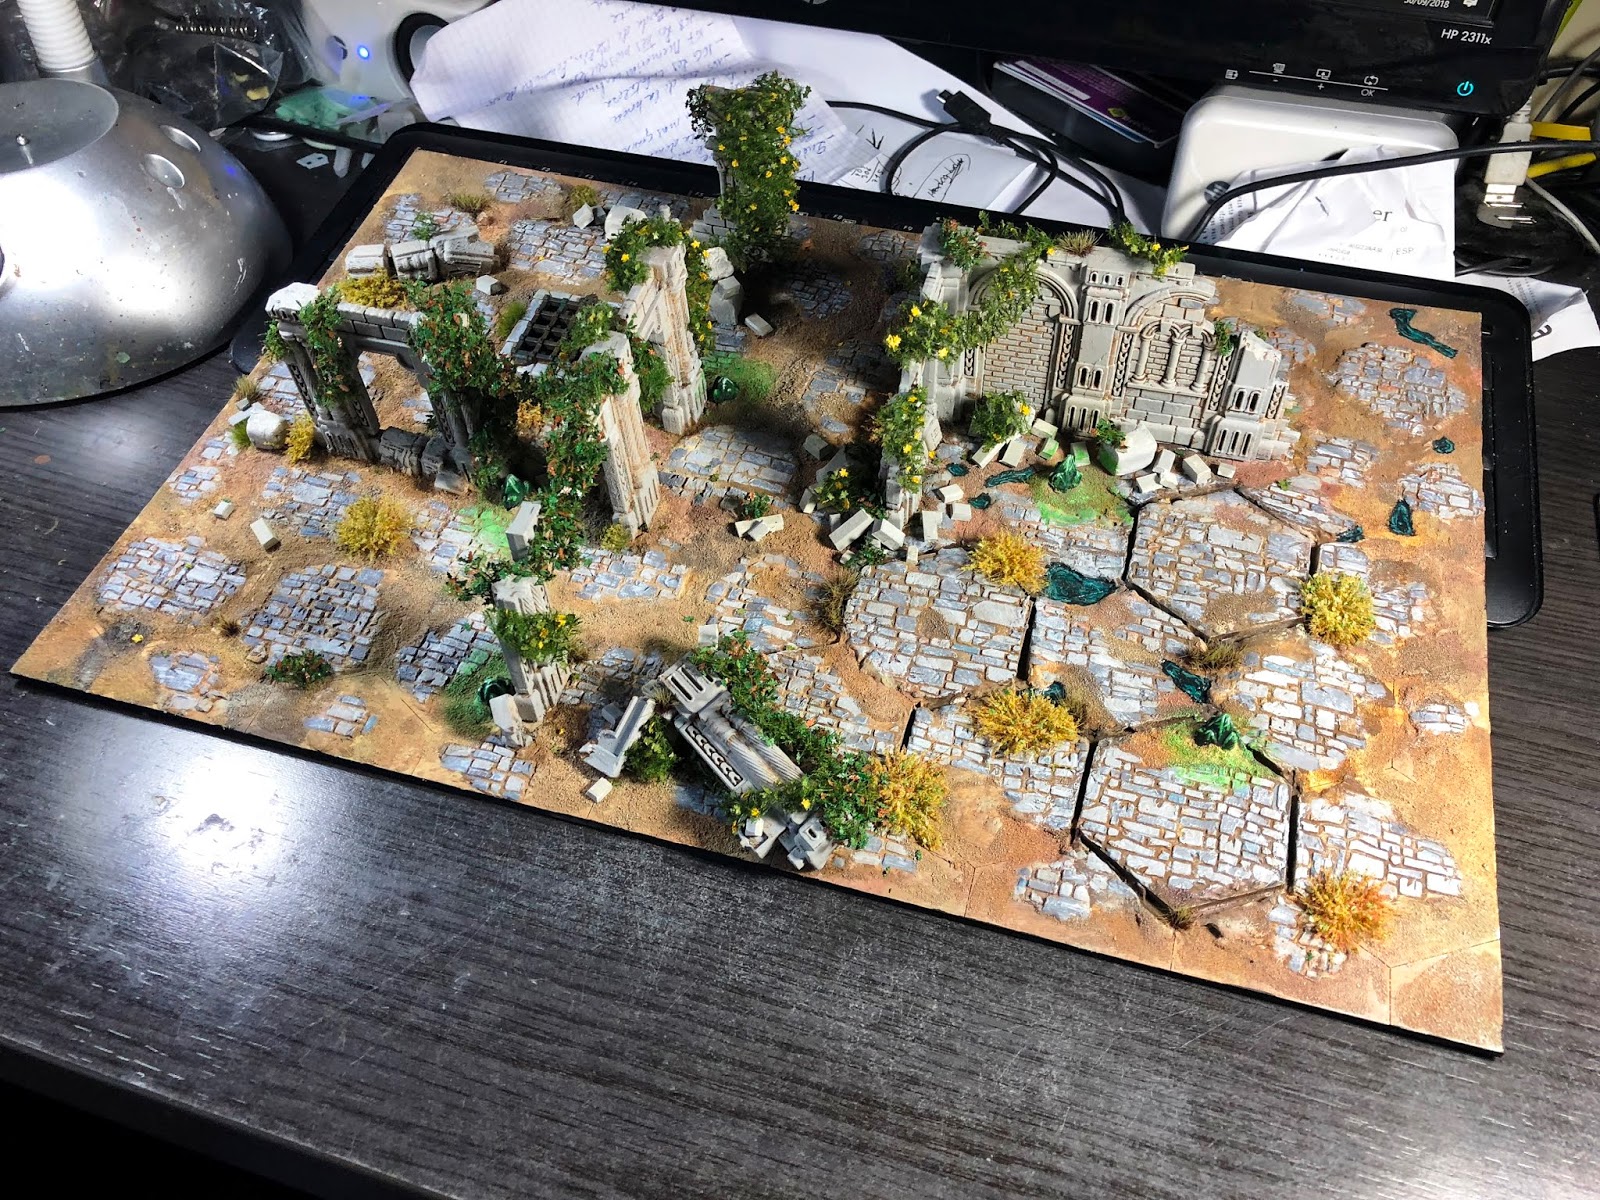
I didn't try to achieve a perfect cobblestone pavement, perfectly regular everywhere. On the contrary, my attempt was to get an old touch, with the cobblestone going up and down, with irregular shapes, puddles, earth, rubble... whatever.

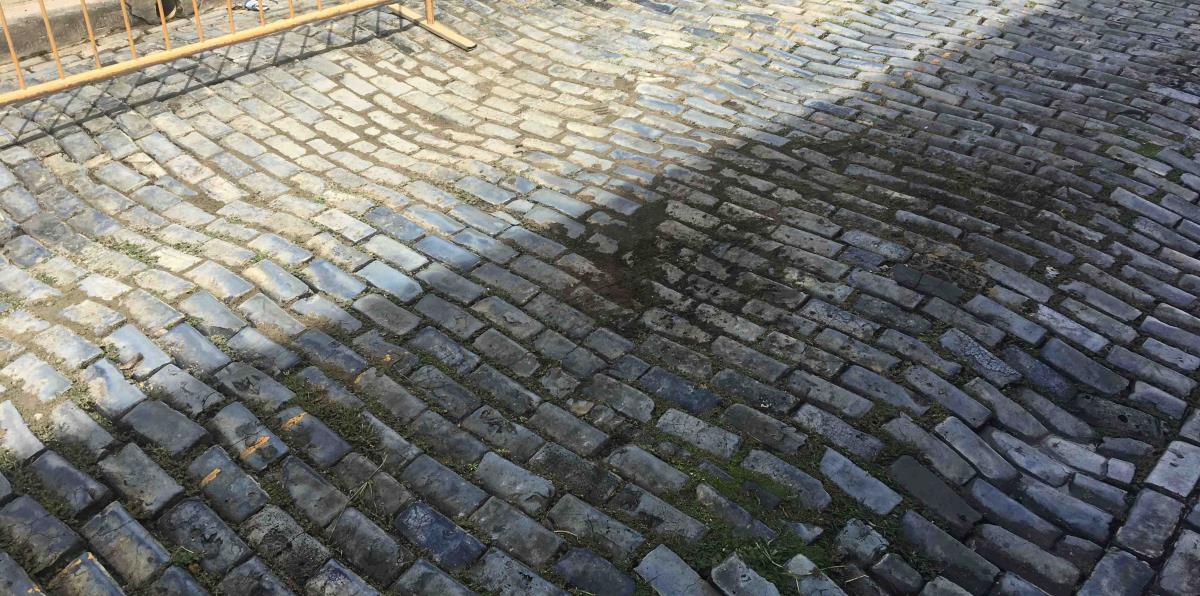
This is well conserved. Imagine this but at large scale after centuries of deficient public service
I added some tiny ruins and statues for dramatic effect


Then I faced a conundrum. How was I supposed to mark the starting tiles? Should I paint a sign on them? Unlikely, it woldn't be seen. Hmmmm. An then a light bulb came on over my head (a LED one, of course, EU regulations). I recalled I had these markers from the Relic Knights game:

I was finally going to put something from that game to use!

So how about using them as warpstone? Well, OK, that would feel more Mordheim than Shadespire, but not that out of place. So warpstone it is:

Ta daaa
 Let's pour some paint on this!

First stage finished. We'll get back here later
Could it be better? Sure. Could I have spent more time defining the tiles and making it all more regular? Of course. But is this enough so I can play on that? Oh, most definitely yes.

Let's face the second board then. The one with three blocked tiles:

The new GW ruin set is sexy. Besides, it ties it all with this Warhammer universe
Some DAS later...

Seriously, that rolling pin is pure witchcraft
This time I tried to give this board some sense. Buildings forming a street or something like that, not pure randomness. I had some concerns about the ruins. Only the L shaped wall blocks tiles. If lyou look closely, all the other pillars and stuff involve doors and are place on the corners of the tiles. I'll add more rubble on the blocked tiles later, so I make it clear on which ones you cannot stand the minis. Blocked tiles being the exception and not the rule, I hope I can make it visually clear. The rule will be 'can you stand the mini on here? Then it's a clear tile, you are good to go'

We'll get back to this board later on too
Third board. I tried something different here. GreenStuff World also sell these plates:

Creepy
I was told that I wouldn't be able to cut those resin pieces into hexes, that I would break them, that they weren't designed for that...

Never underestimate my stubbornness

This is another clear board:

Look at all those skulls! Pure GW!

Sand from the beach. I'll be needing more if I keep doing boards like this

Still unfinished, but be patient. We'll revisit this one too. Keep scrolling.
Fourth board. Three blocked tiles, a single one and two in a row.

Will this work?

I certainly hope so
From the other side, with sand
I thought I had it but...
I realised I had made a mistake. The blocked tiles not only were supposed to not allow the minis stand over them, but they also block the line of sight. I had to make it visually clear.

Slight rearrangements had to be made

You know what? Let's leave it this way and... yup, we'll come back later
Now we have four basic boards. But I couldn't leave them that way, of course...

Sprue rubble. The cheapest (yet most tedious) material to get

Honestly, I'm not a shareholder of GreenStuff Worl, but oh, the leaf punch...

I'm getting into Autumn mood

The final ingredient, pure magic, from here
So with some more tufts and stuff, these are the final results. Here you have to pics of each board, from both sides:


With some minis on the board:


BONUS: The game also needs objective markers. I made my own, in the same fashion that the boards. I will be needing five for now, as you only need more for three players games (unlikely for the moment).


The whole lot:


But what do these boards look like when together?

Like this

Extra pic for no reason

The four of them
This is it!
On a perspective, it hasn't been that expensive (at least in relative terms, as everything in this hobby) and just the mere fact of building the boards has been enormously rewarding. The most serious disadvantage of this craziness is that... Now I want to build full, huge wargaming boards this way!!!
Ahem. Well, for now I only need to convert and play the other band and get some gaming experience...