The day has arrived! After many years I've dared to dive into Infinity [you may insert a scared emoji at will]. I played Aristeia earlier this year, and I totally got the itch for the Infinity universe.
A pal of mine got the Code One: Operation Kaldstrom box, and he commissioned me to paint it. The challenge was highly motivating, as I had been toying myself with the idea of getting into the game for long. I guess there's no point in highlighting the obvious, as everybody knows by now, but... Oh, the minis! The minis!
They really are like nothing I had painted before. The whole design itself, the proportions (oh, why are those heads so small? Why are those hands so tiny? How come the guns fit into those hands??), the level of detail... It's everything about them.
The core box comes with two forces, Panoceania (galactic superpower) and Yu Jing (upcoming fierce rival). I decided to paint Panoceania first, just to get acquainted with the models.
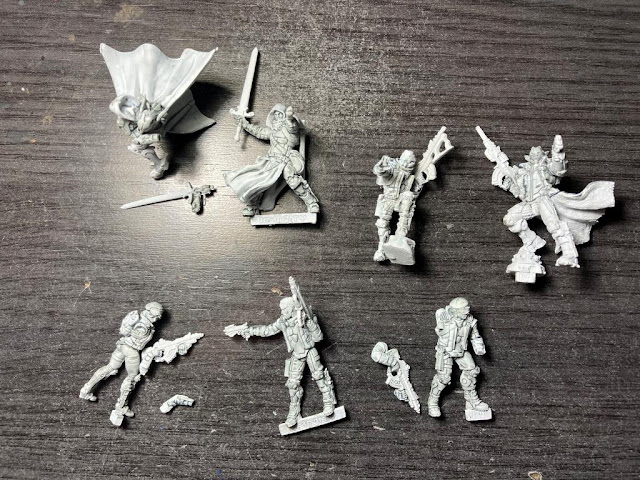 |
Just seven of them. This can't be that complicated, right?
|
Oh my. I truly had to reinvent myself as a painter. I'm sooo used to Games Workshop, and specially to old models, that these were a totally unknown challenge to me!
First thing was to find out the correct proportions for colours on my mix. I came to this basic combo:
 |
Crude colours, just to get my mind oriented to the final result
|
The minis asked for proper highlights, and it took some time for me to get them right, but in the end I was happy with the general direction of this thing:
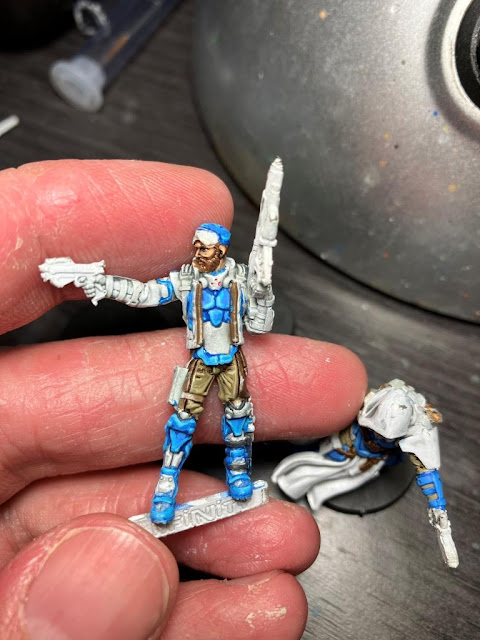 |
Seriously, this guy is pure GI JOE. Change my mind
|
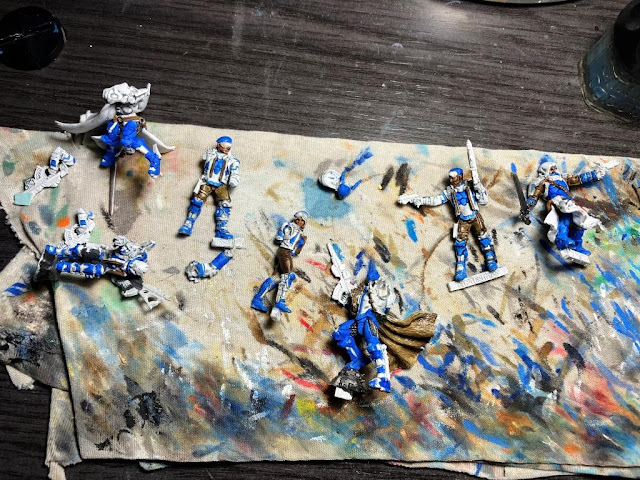
After endless trial-and-error days, I finally declared myself satisfied. This is how they were going to look like:
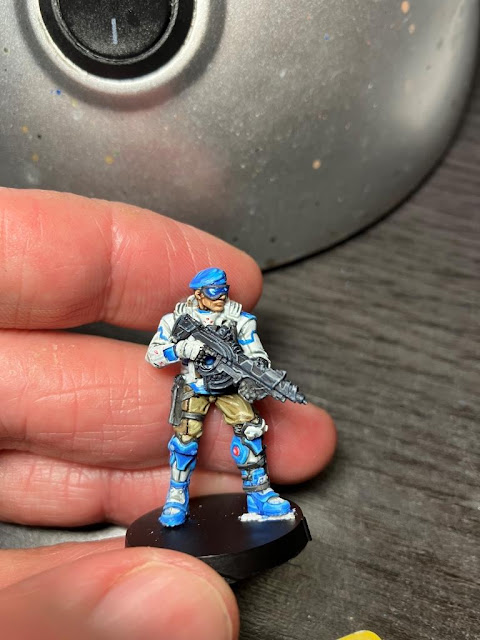 |
I finally found an use for that 00 brush!
|
I gave little concession to metals on the weapons. I knew I didn't want them to look like WH40K bolters, with a lot of bare metal everywhere (in fact my first instinct was to leave them totally black), but in the end I painted the magazines, barrels and so in metallics.
 |
There are more hours involved here than those the pic suggests
|
Operation Kaldstrom is supposed to take place in a winter environment, so the bases should be covered in snow. However, my pal told me he didn't planned that, but urban bases, just to match his boards. Then I had to face a particular issue. This mini came with a metal piece for the base, which clearly represents open, irregular field.
 |
Don't know what it is, but it doesn't look specially urban
|
So I had to improvise a solution:
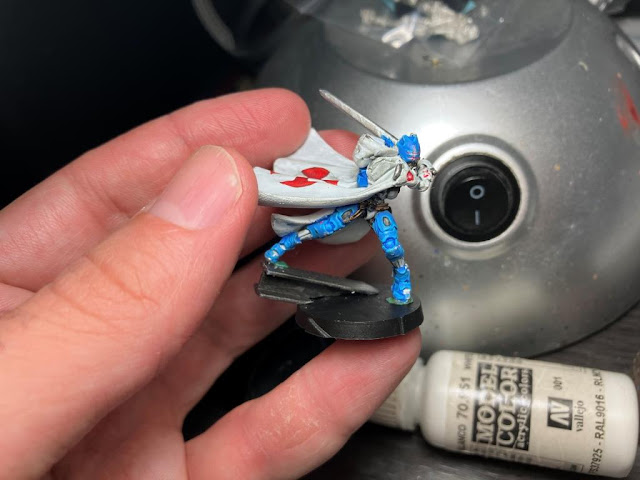 |
No, I don't have a clue of how that beam ended there, or why. It simply exists
|
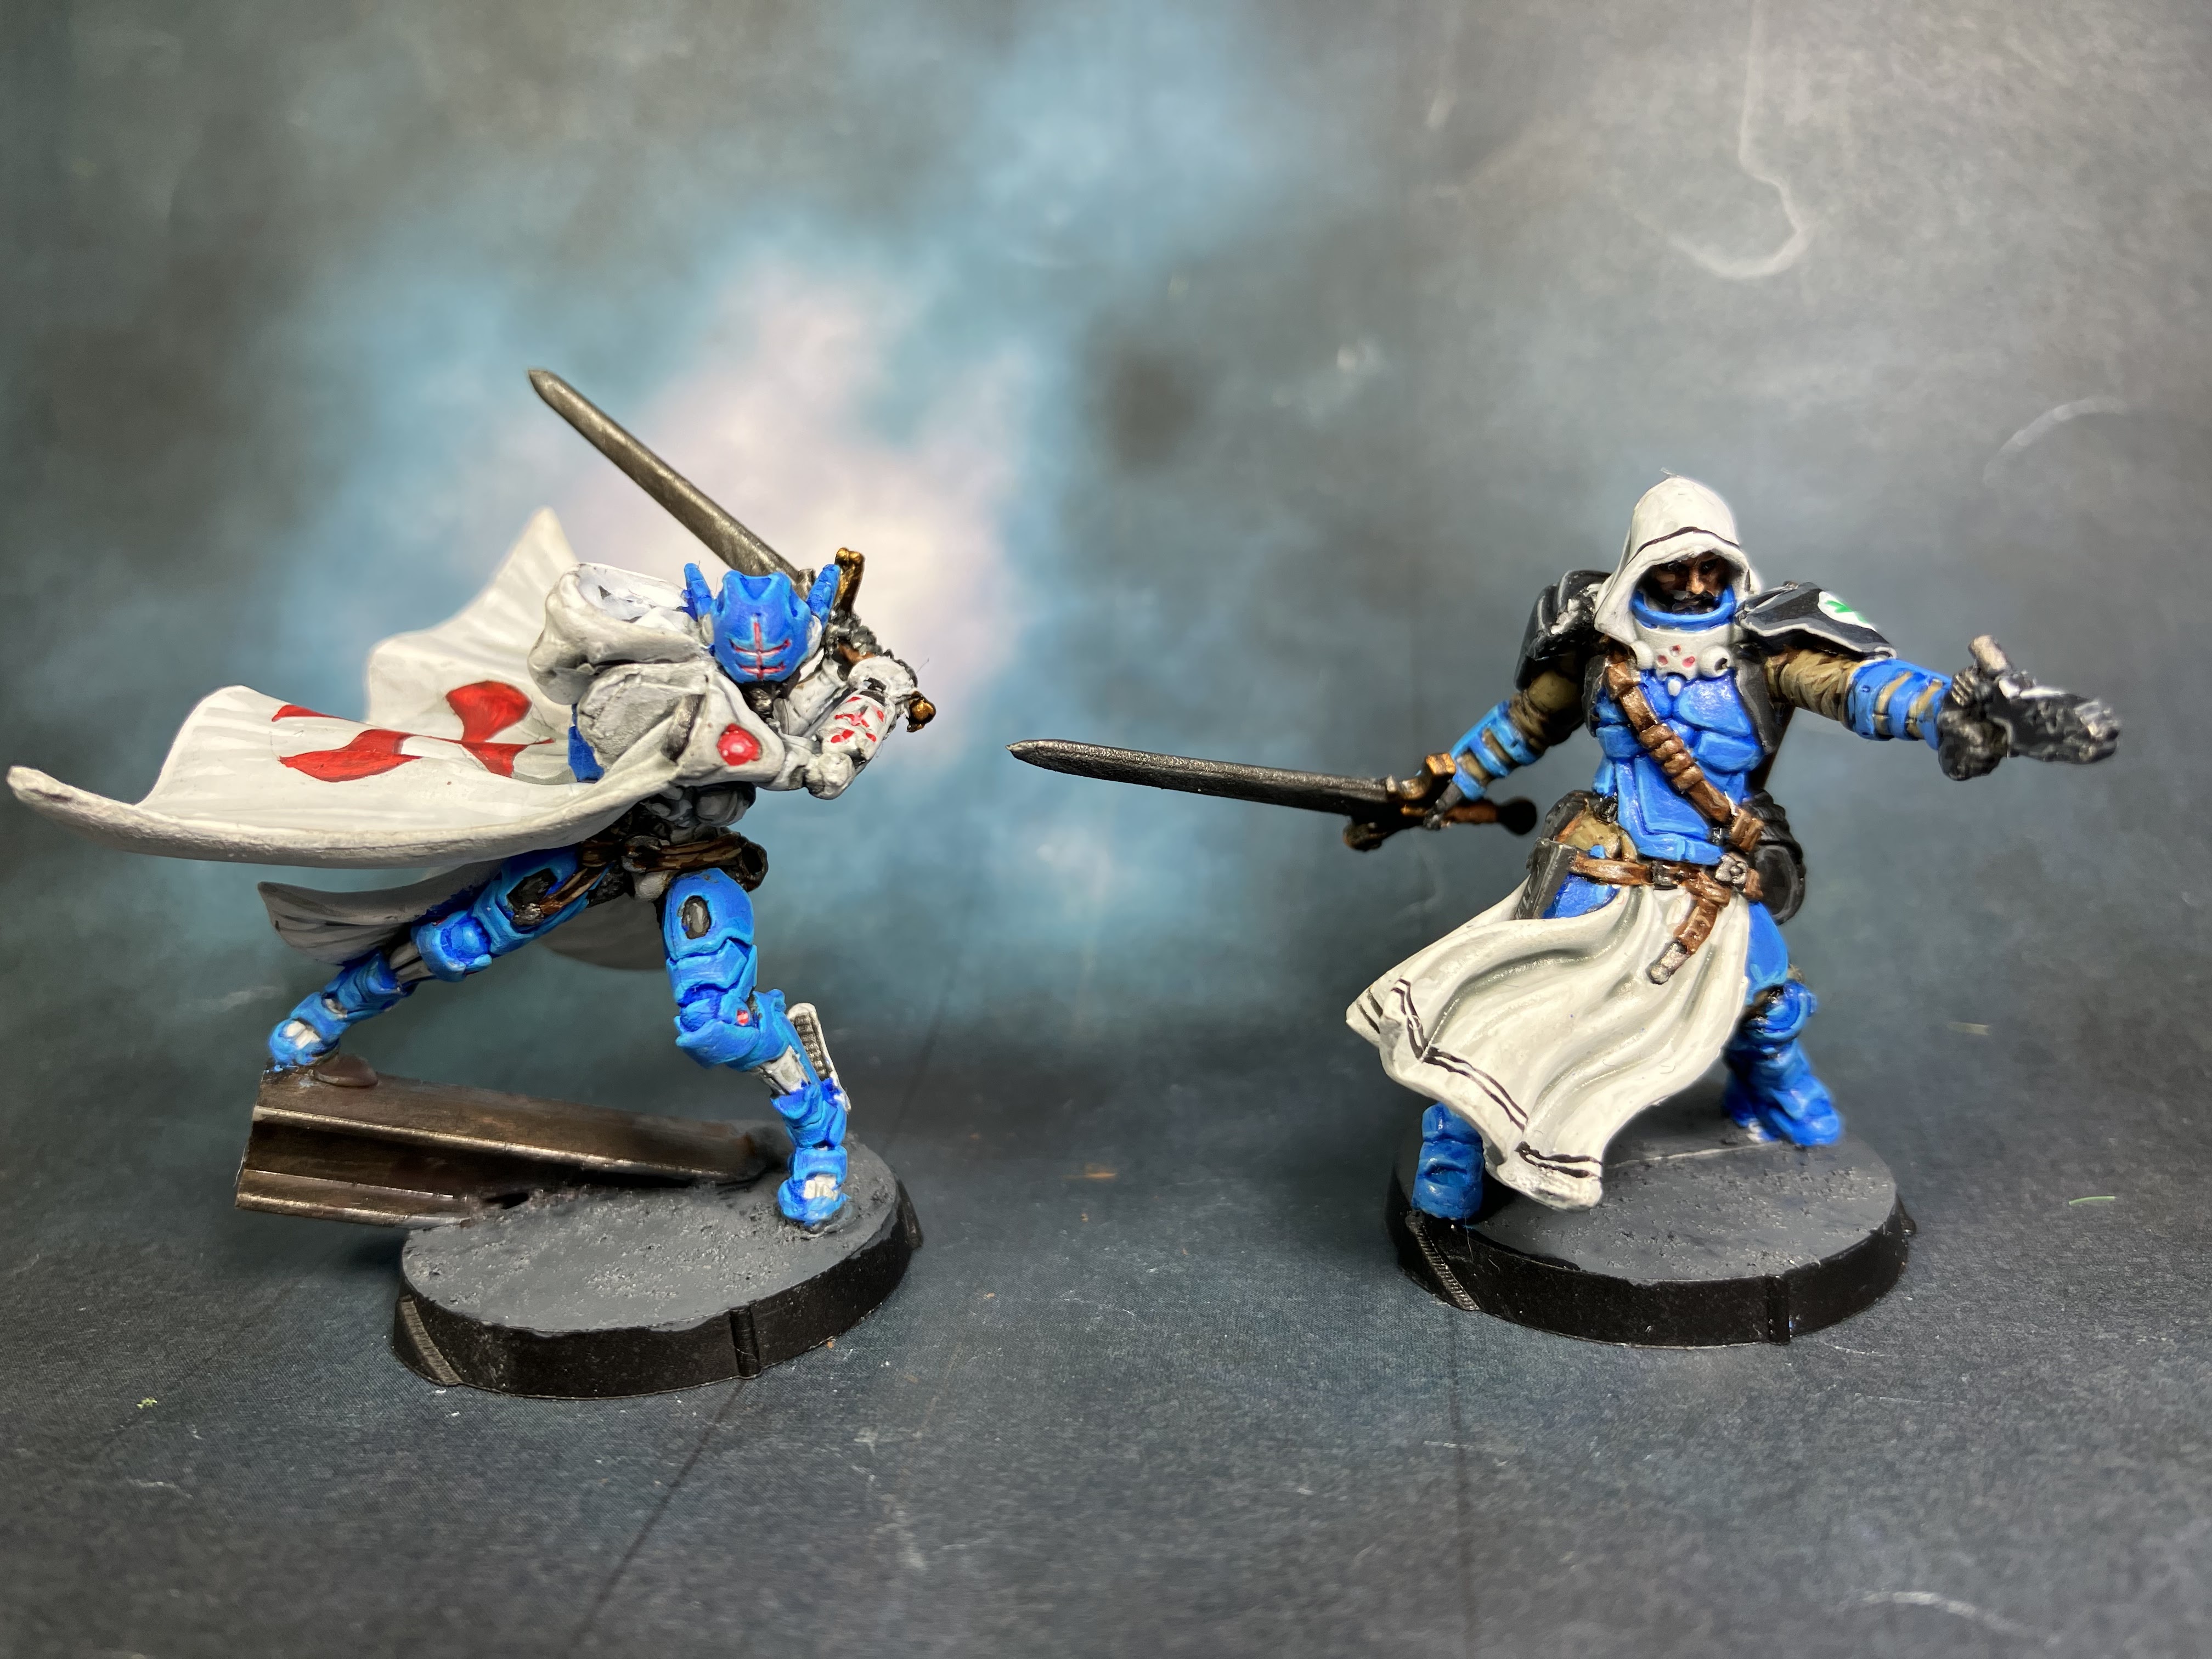
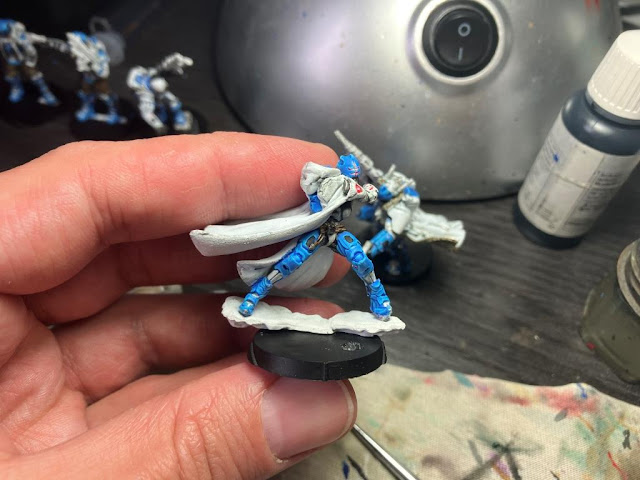
BTW, a pic of the cloak, to show the Templar cross (I'm currently not sure if that's accurate, please any background expert can tell? I've just read it's the Order of the Hospital?)
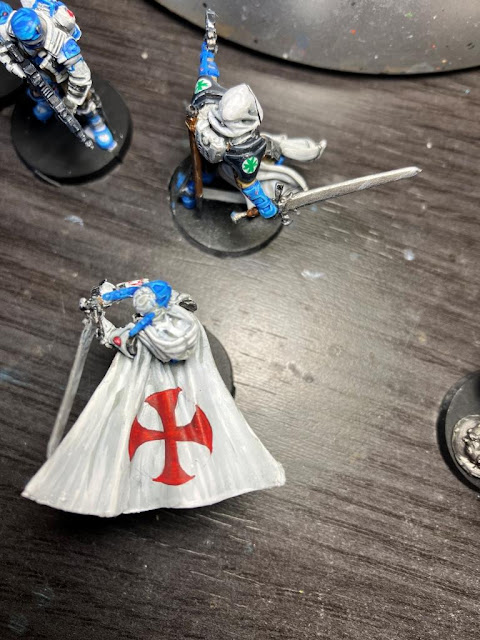 |
Still need to read everything about their fluff
|
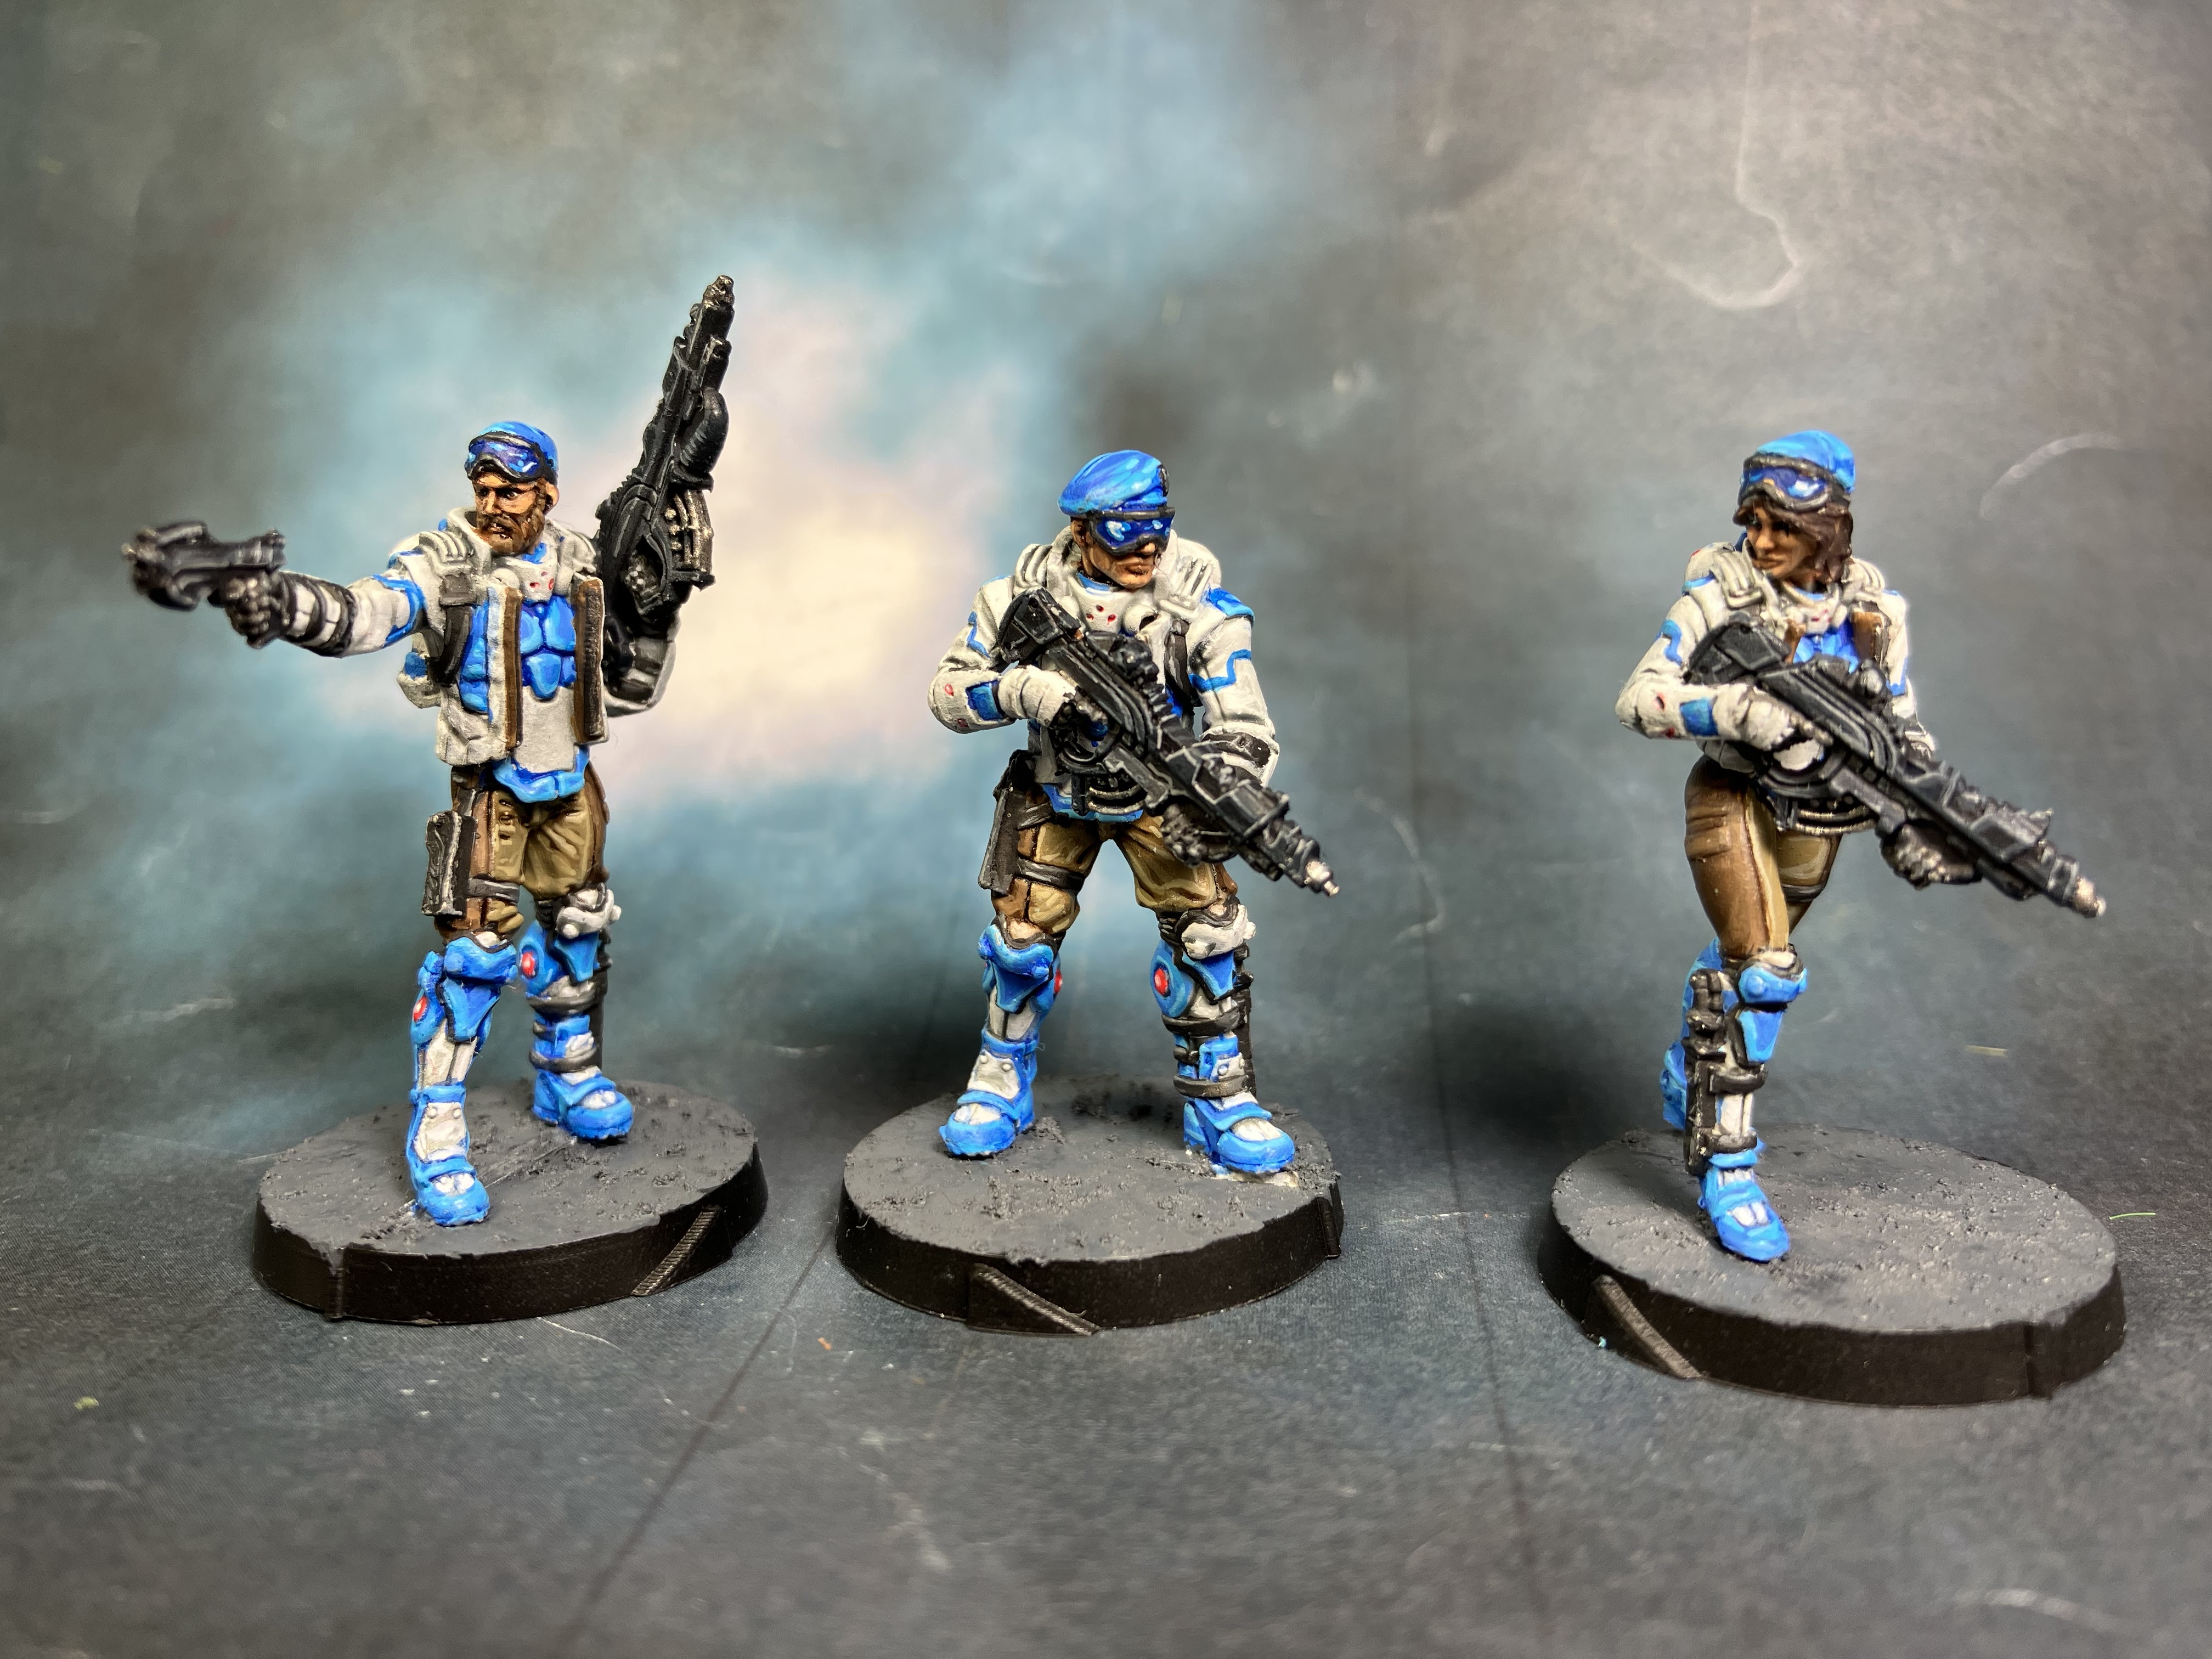
But well, I think this covers pretty much all I did here. Let me show pics of the finished models:
 |
| Fusiliers |
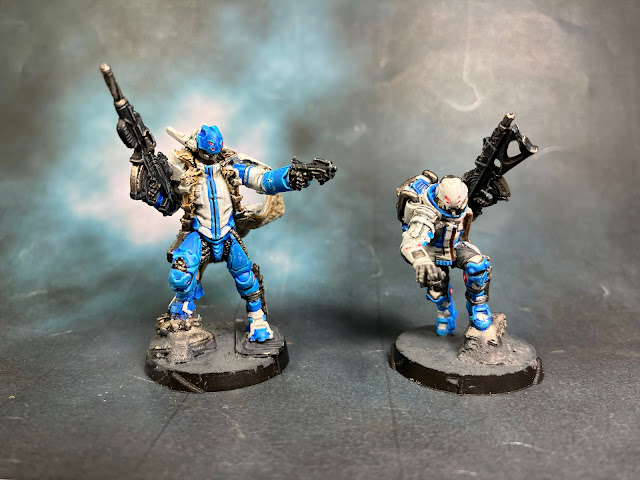 |
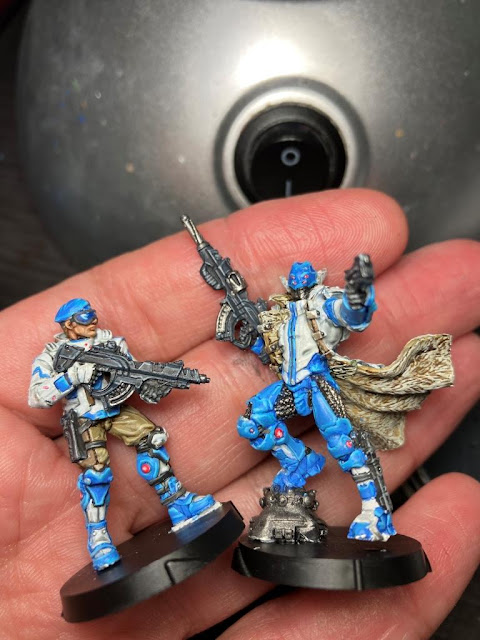
Orc troop (not a Greenskin at all) and Nokken (SpecOps guys)
|
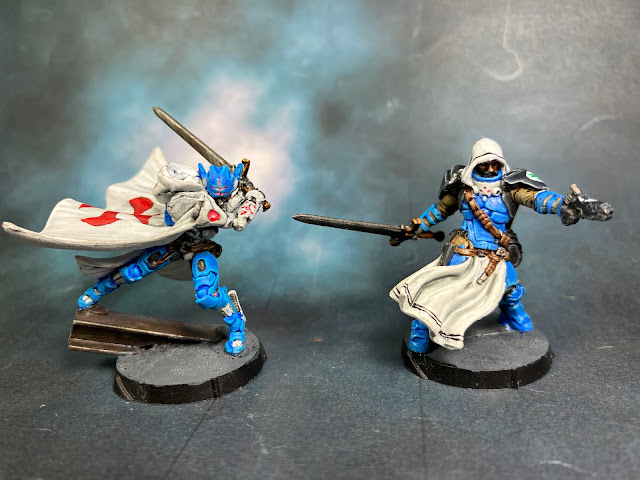 |
Knight of Justice and Infirmarer
|
Here you have them all:
I may still add some detail to the bases. Rubble or stuff. But for now this is it. Quite an experience! I'll breathe some air before I start the Yu Jing guys, but I don't want them to stay on the bench for long...