Sometimes you begin a project almost out of nowhere. You see something, a piece, any unexpected bit of rubbish, any everyday object, no matter what, and then you see it. You envision a totally different thing. This happened to me recently. Earlier this year I saw a very particular pen holder at the office. Great thing to keep pencils and markers separated, to have your post-its or whatever. Sure. But I saw a different thing.
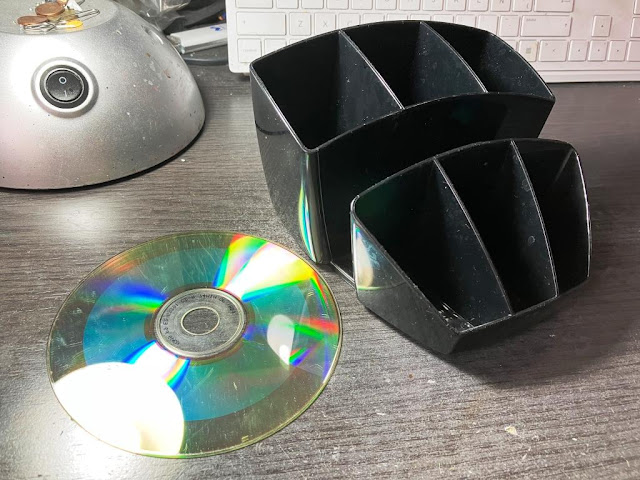 |
CD for scale. Not included in the pen holder. No, it doesn't play music either
|
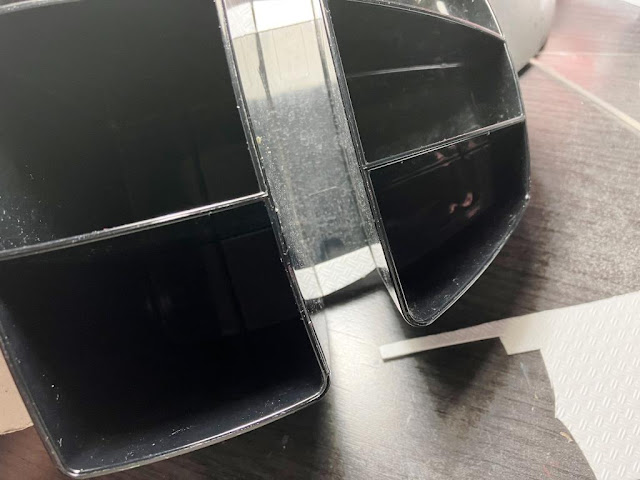
The shape of this thing immediately resembled me a space ship. I know, I know, it's not the standard thing any normal person should see here, but in my defence I'll say you should see how I perform at Roscharch tests.
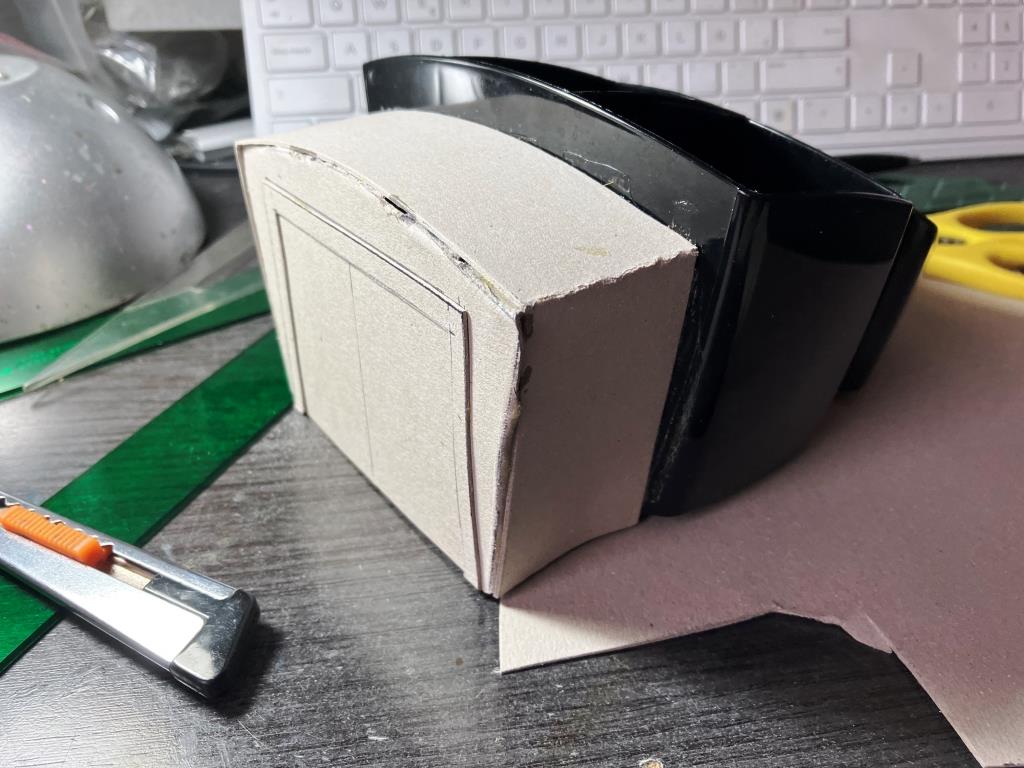
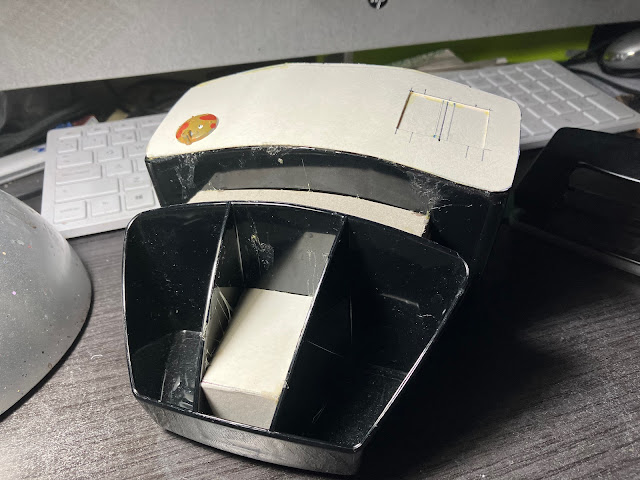
Anyway. A space ship. In 28mm. The curved part would be the prow, the bulkier part would be the main hull section. Please let me, if not elaborate, at least show. First of all we'll need some medium-rough cardboard.
The ship is too short now, so it needs some length. I made an extension at the stern, in which I also put the rear cargo ramp. Cardboard is kind of underrated in the hobby. It can provide some decent structures with very little work and it's easy to handle. So I made this weird box and it somehow worked. Not only that, it allowed me to make a curve shape on the top part, so I felt quite encouraged to keep on.
 |
I insist to see a space ship here. Please give me some time
|
I got this textured sheet and cut these two pieces:
 |
It will make sense. Eventually
|
I had to fill in this empty section between the two main shapes, so I thought it would be the right place to put the access doors. So what you are seeing is just the step in front of the door.
 |
Both sides, I'll make two doors
|
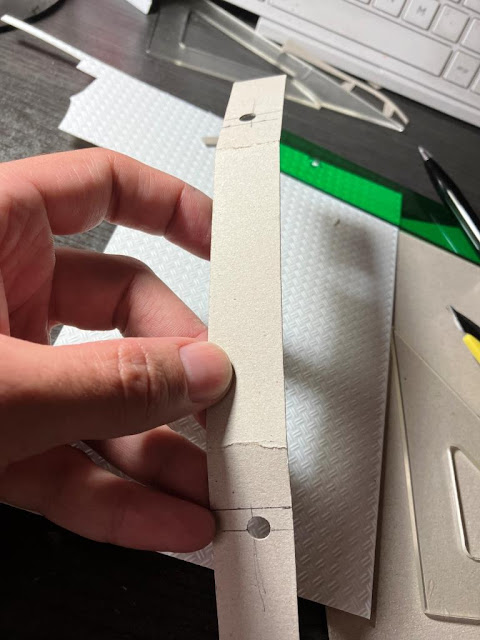
I said that working with cardboard has some advantages. Here you have, I thought I could make some portholes for the ship:
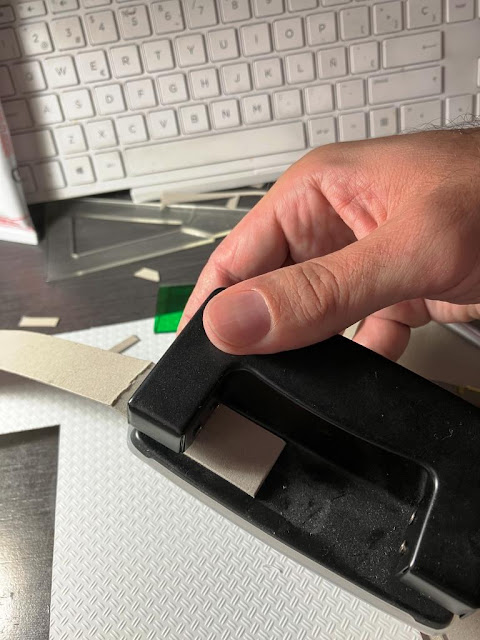 |
First time I use this thing for modelling purposes, promise
|
 |
This is a weirdly shaped piece...
|
 |
And where is this... thing supposed to go?
|
Here! This is roughly the basic shape of the ship!
 |
No, it's OK if you are still skeptical
|
Let's go for the "roof" of the main section. This time I needed a thinner cardboard piece, to adapt it to the curved shape:
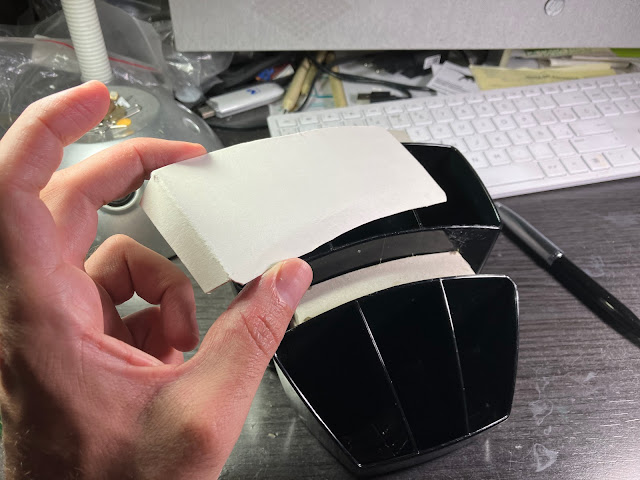 |
Something like this
|
 |
I took the opportunity to make this hatch and add some more 3D feeling
|
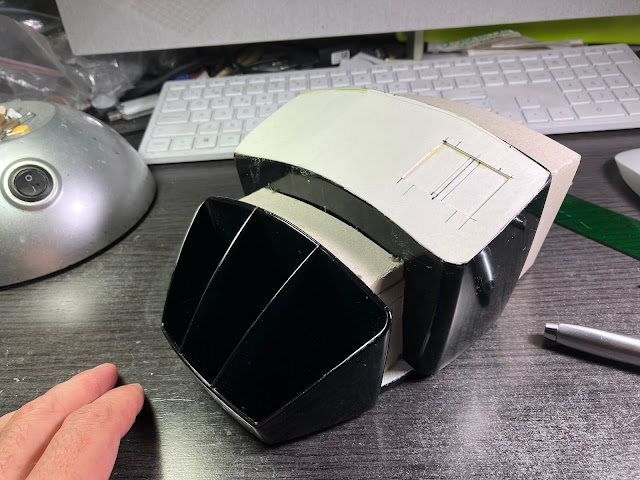
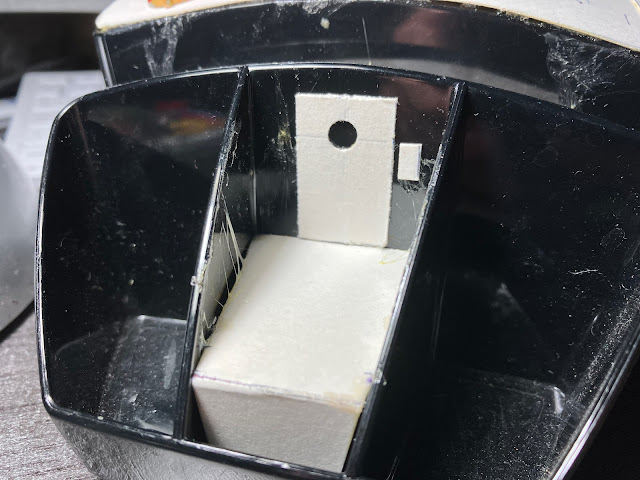
I hope you can see the general idea by now! The next stage would be the pilot's cabin.
 |
It will be placed in the central section
|
I toyed with the idea of assymetry and having the cabin on one of the sides, but in the end I thought it would work better this way.
 |
More punched cardboard! It's addictive!
|
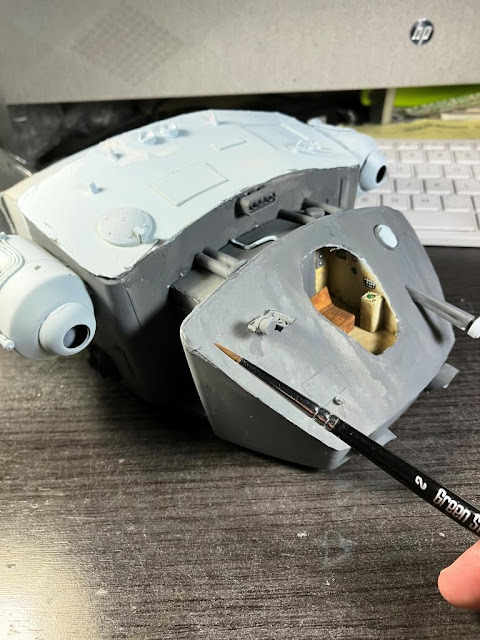
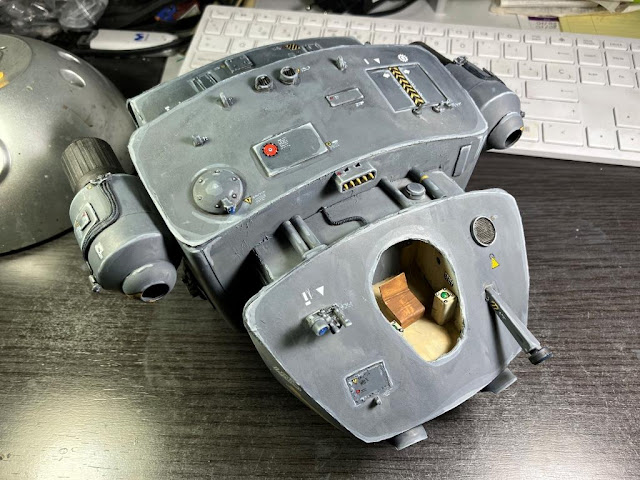
But why am I making so much trouble out of this? Why am I making the inner part of the ship?
Oh, because I expect it to be seen!
 |
It doesn't look like that, but I know what I'm doing
|
 |
| Tadaa! |
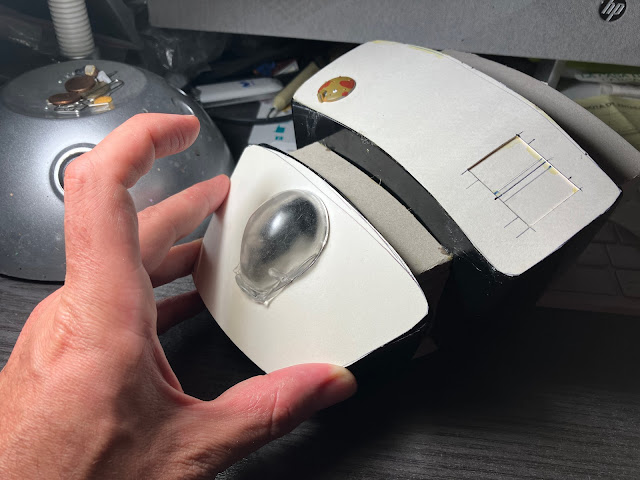
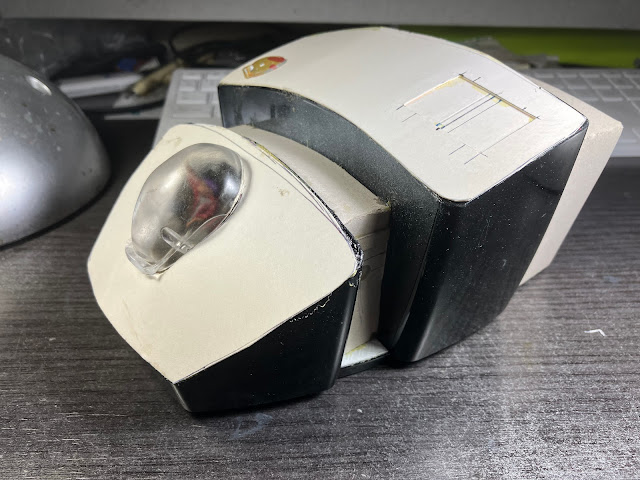
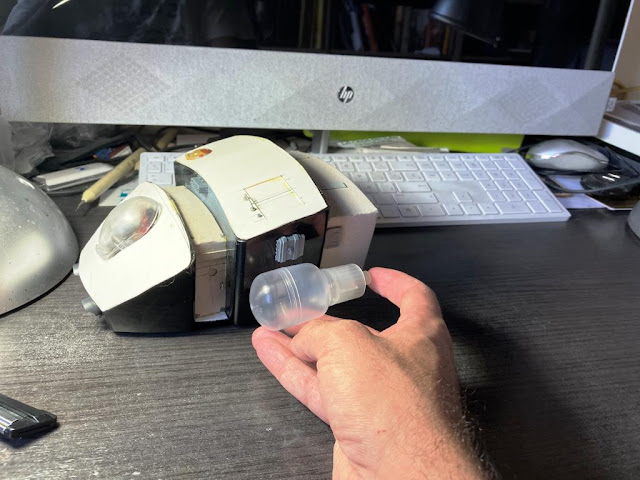
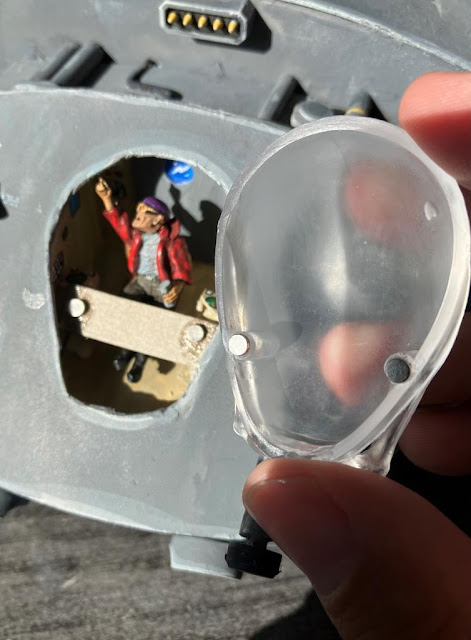
I cannot honestly remember where did that piece come from. I only know I have been keeping it in my bits box for more than two decades. Quite literally. I had always planned to add it to any weird project, but in my mind I always thought more of giant robots or something like that. I have finally found a place for it! Horaay!
The piece is translucent, so in my mind the original plan was to make some detailing in the interior, but not too much (spoiler: there will be a change of plans ahead, but we'll get to that later...)
 |
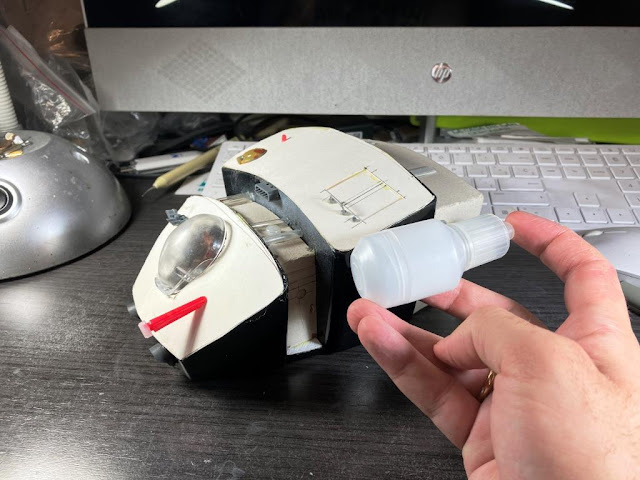
For now just keep this in mind, the interior will be visible
|
As the canopy is supposed to be translucent, there's no need to make a super detailed area. I can make it a little bit crude or rough.
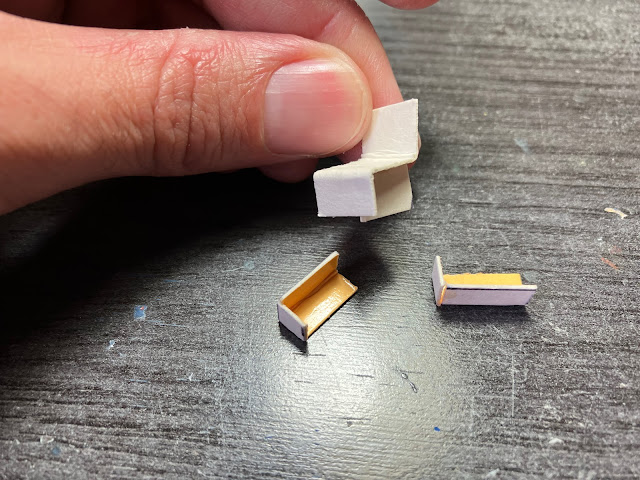 |
No joking, that's going to be the seat!
|
 |
I mean it!
|
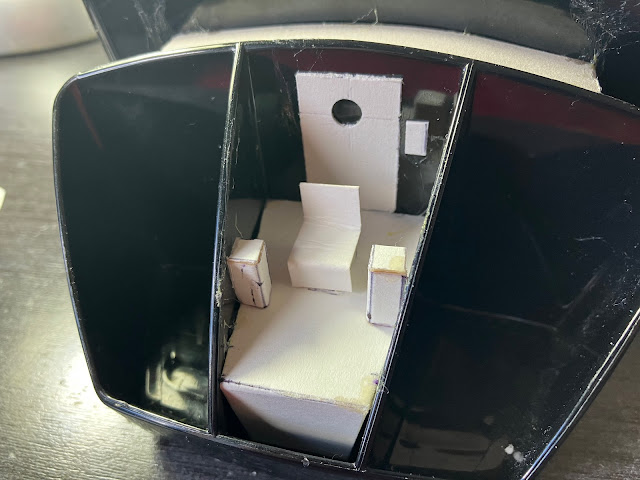
So now that you are following my train of thought, why bother adding tons of realistic details? If it's not going to be really well seen, I can simply paint the stuff instead of building it!
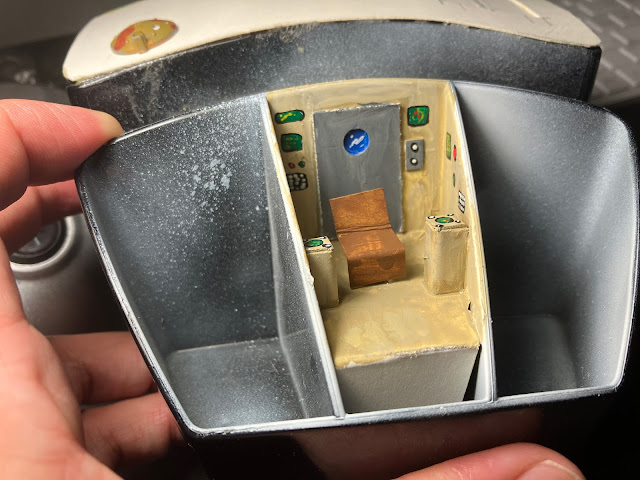 |
You thought I was bluffing?
|
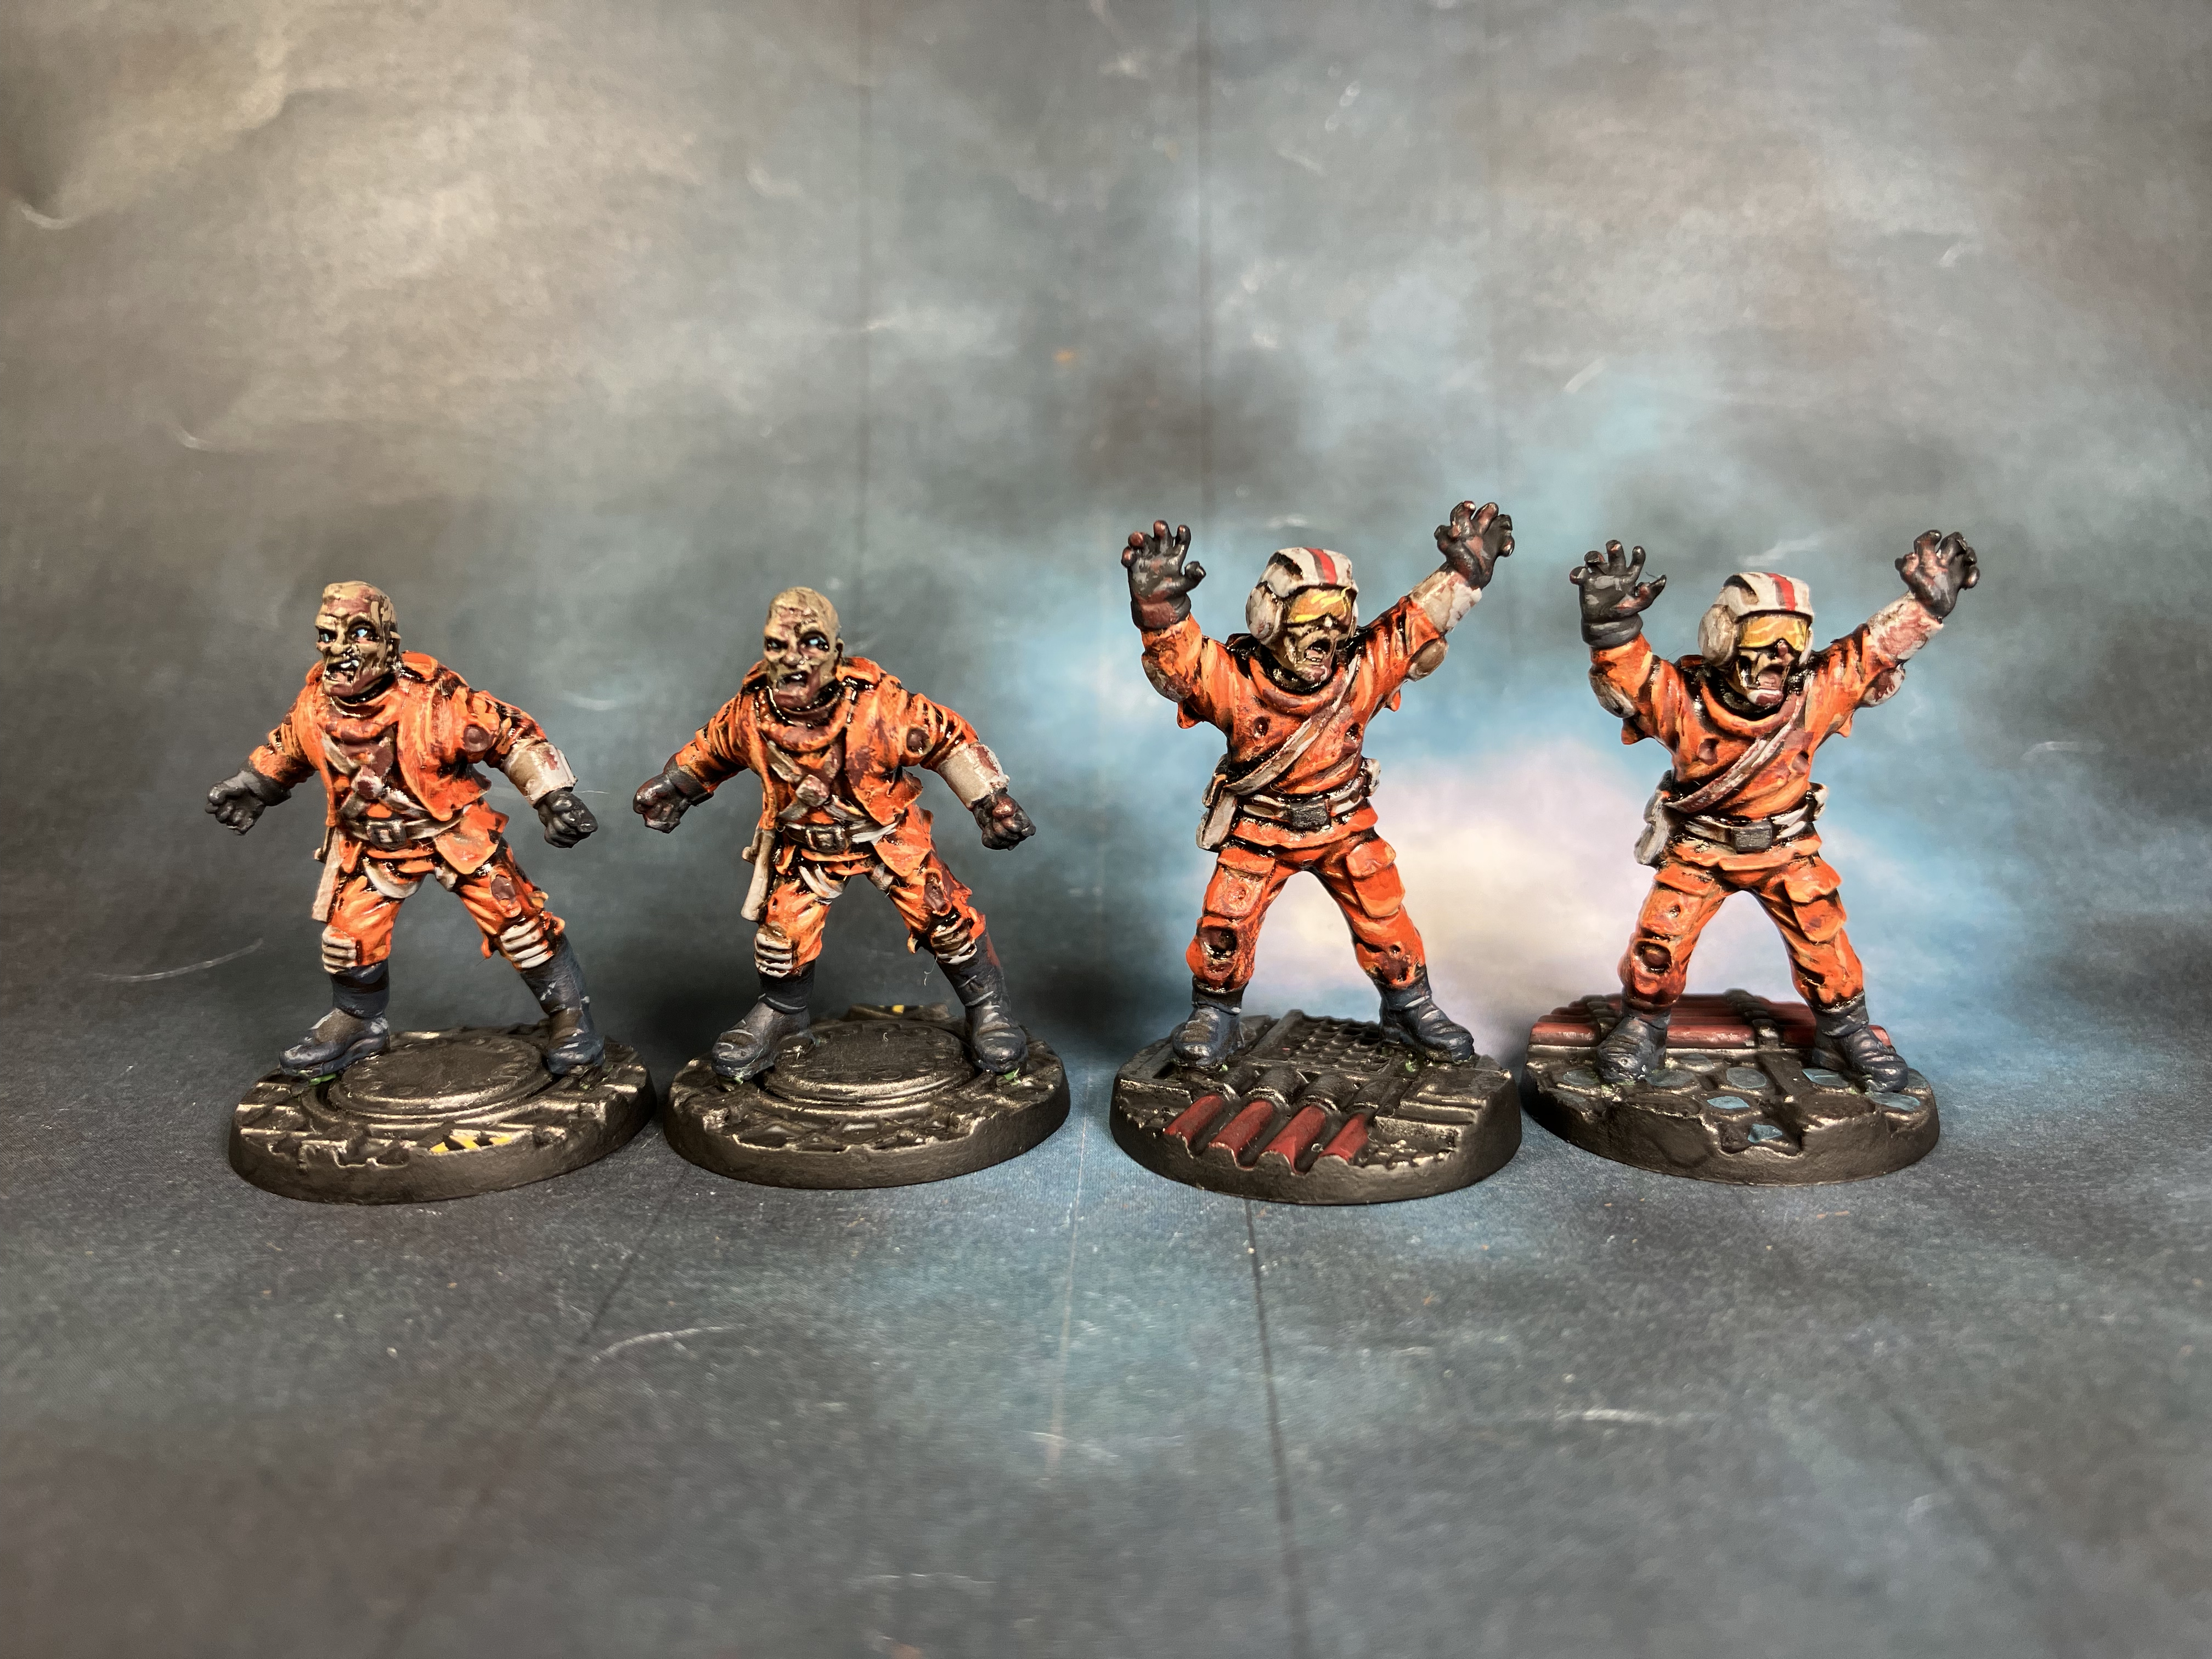
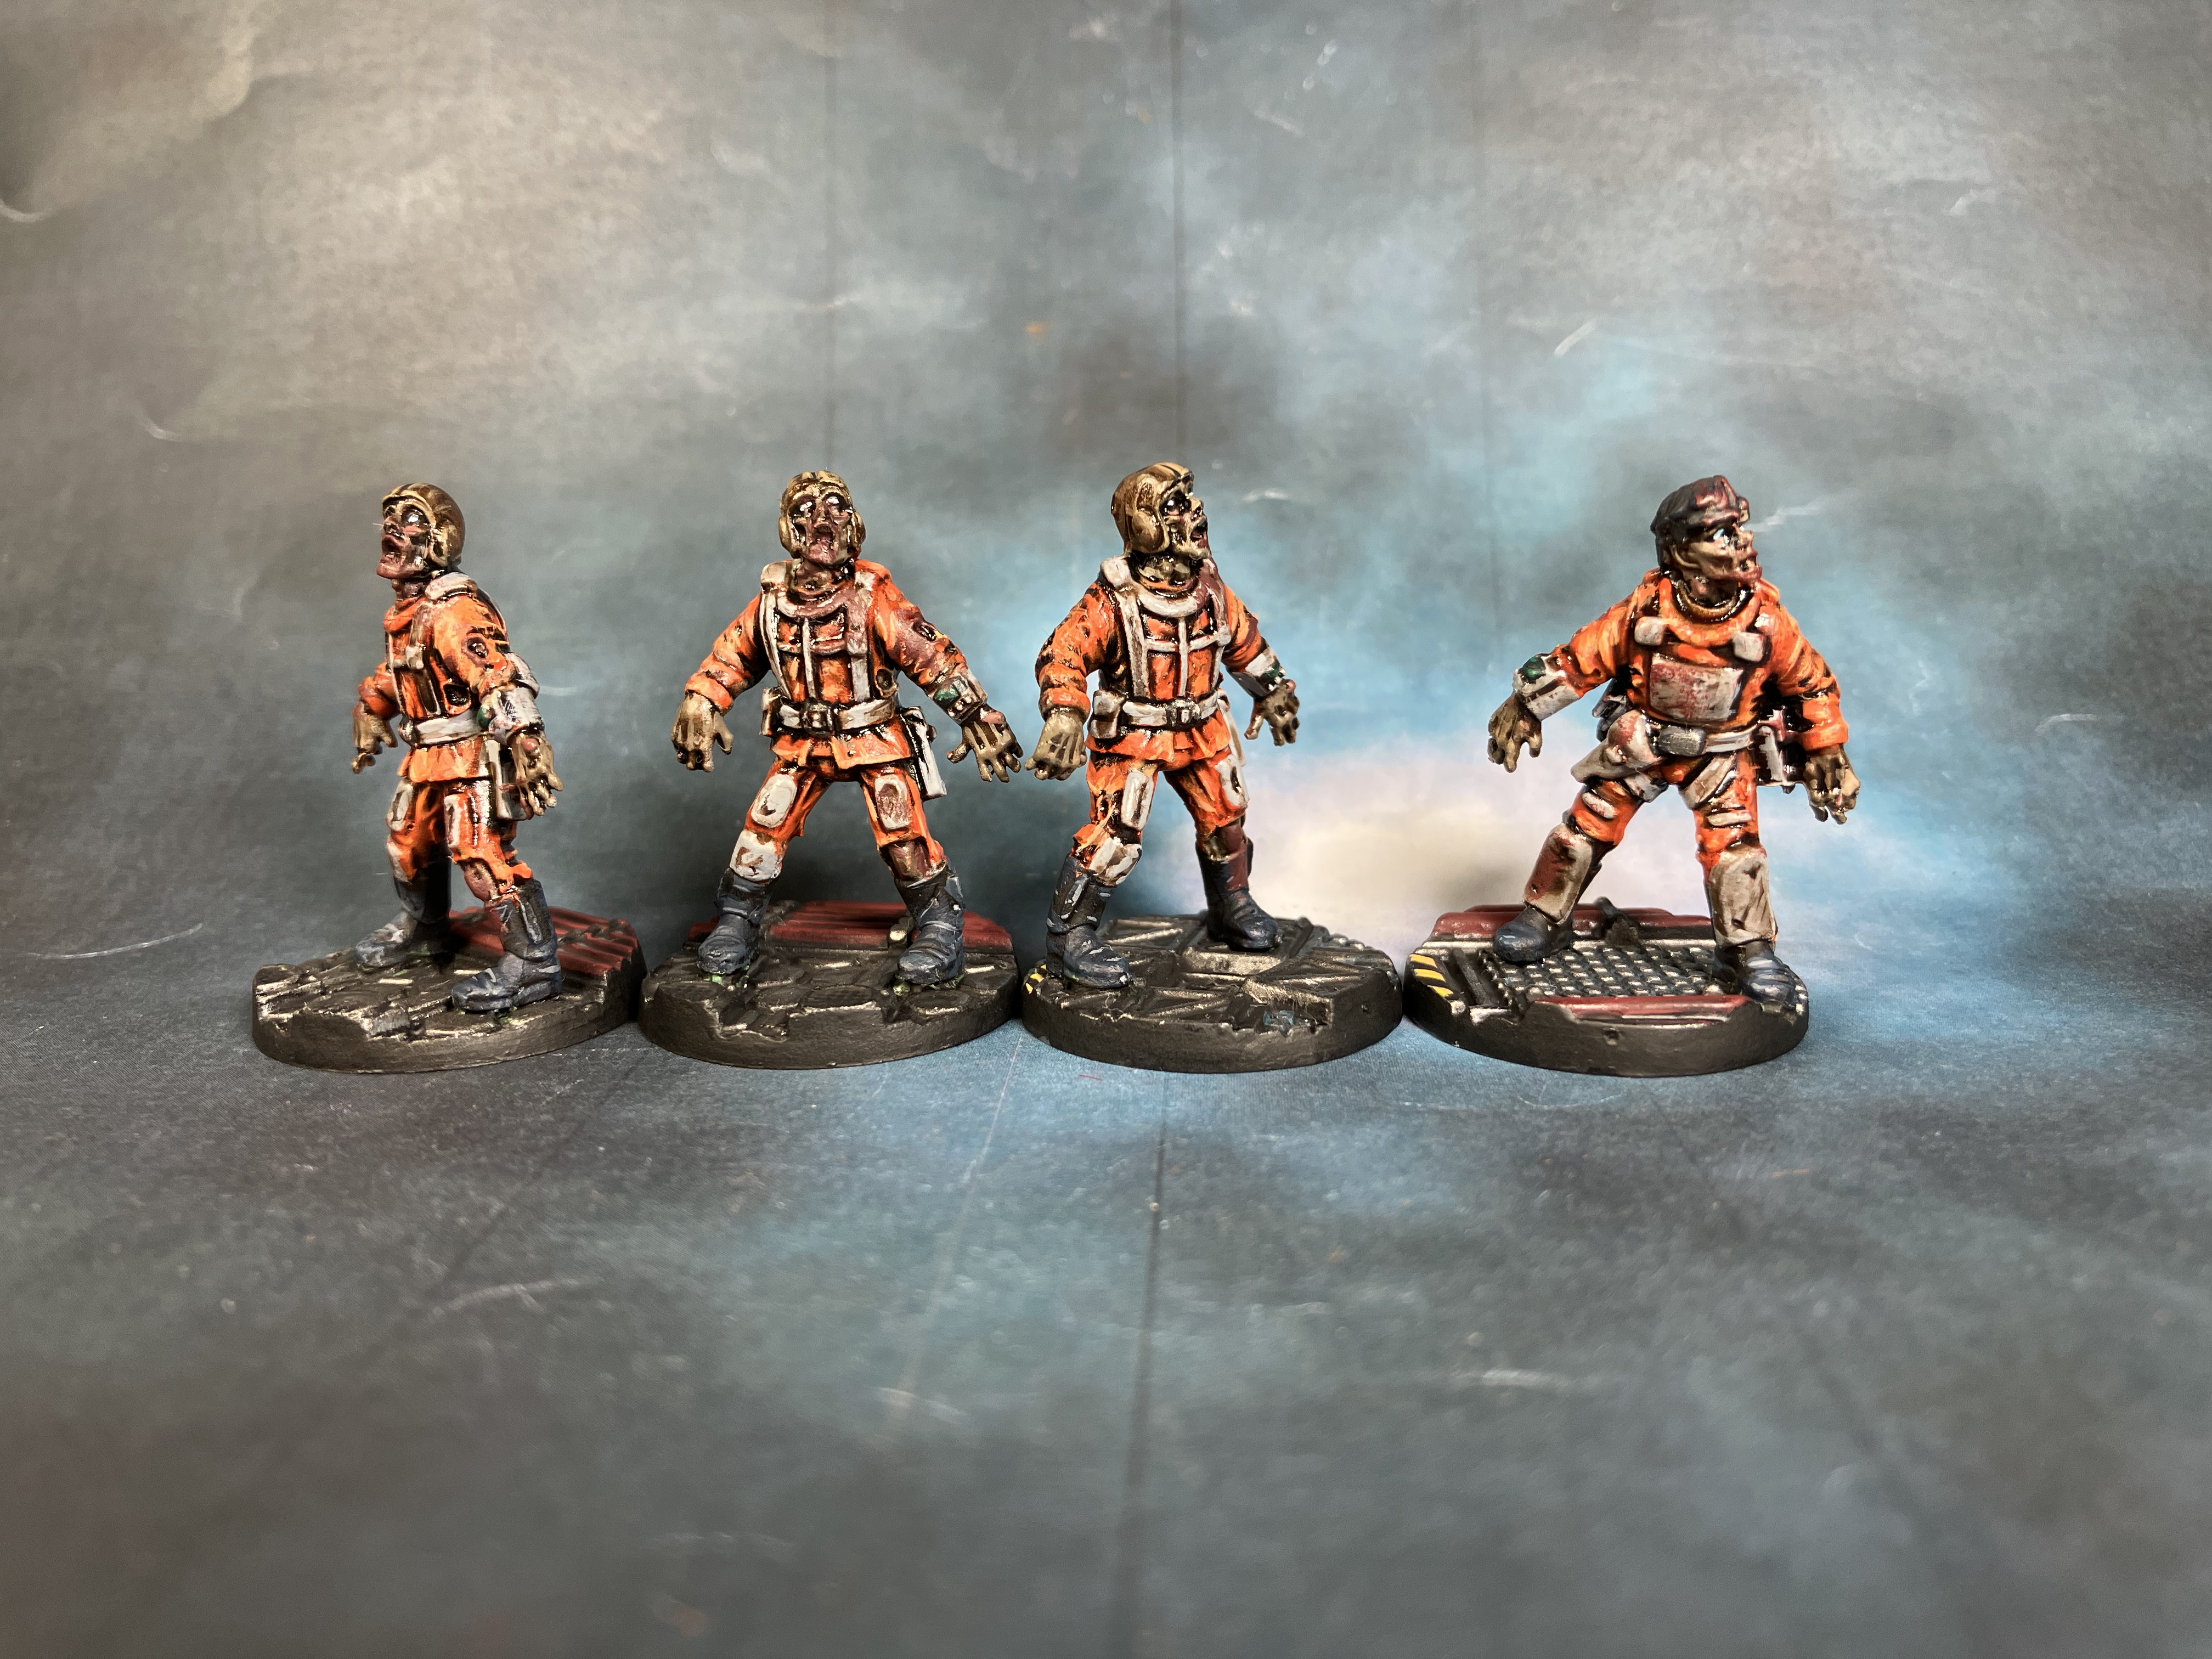
For the pilot I took one of my old sci fi civilians and made a slight conversion. Again, a crude work, having in mind the translucent canopy. So it's a relaxed guy, with his thermo flask, clicking all those buttons pilots click on the movies.
 |
Check. Check. Check.
|
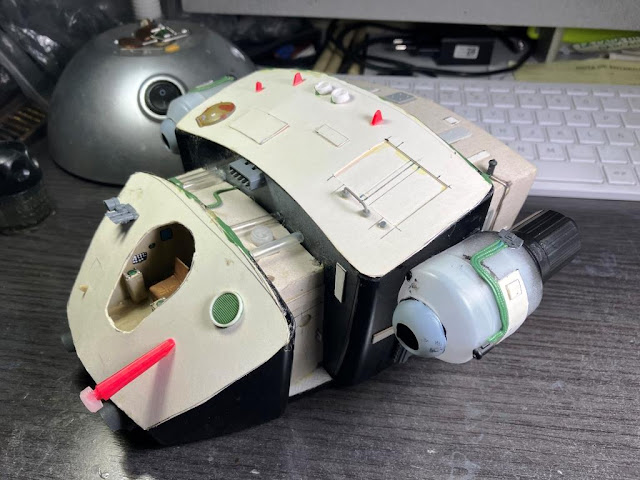
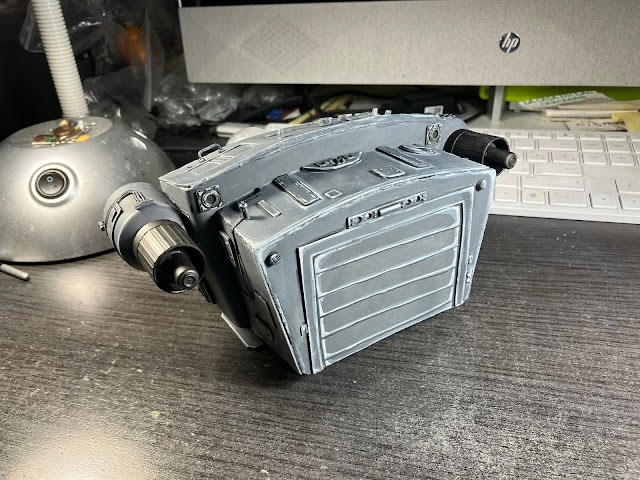
So this is more or less the general idea and the basic shape of this space ship:
 |
Flying brick. Totally ready for WH40K
|
Just an idea. If the Millennium Falcon is a light freighter, this tiny thing is kind of the equivalent of a cargo van!
Let's keep on. After many ridiculous and unsuccessful experiments, I finally found the way to add a couple of engines.
 |
Test #56 (give or take)
|
 |
Hmmm. I could work with this...
|
 |
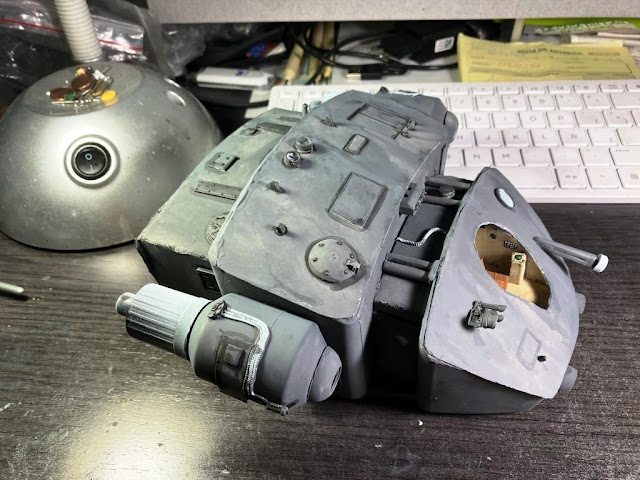
I primed the inner parts now. Once attached to the hull it will be impossible to spray them!
|
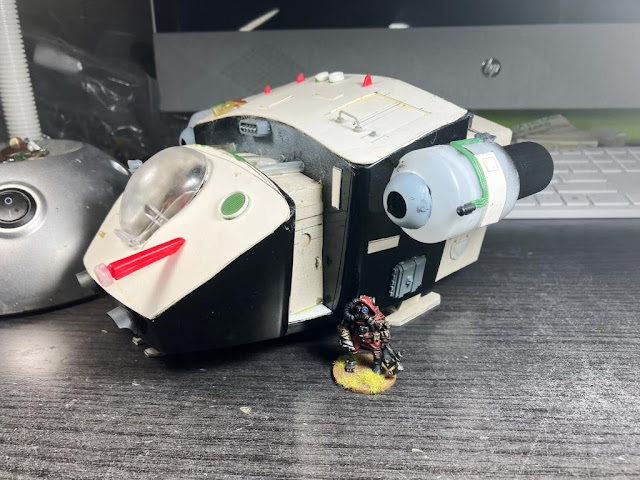
So you can finally see the real shape of the space van
 |
Yup, that thing on the shelf is the Athenian Trireme WIP
|
Well, from now on it's all a matter of adding details.
 |
By 'details' I mean 'more rubbish', of course
|
I made a shy experiment with metal wire, but I wasn't really able to make it fit the shapes of the ship, the engines and so. Then I made the easy solution:
 |
Green stuff!
|
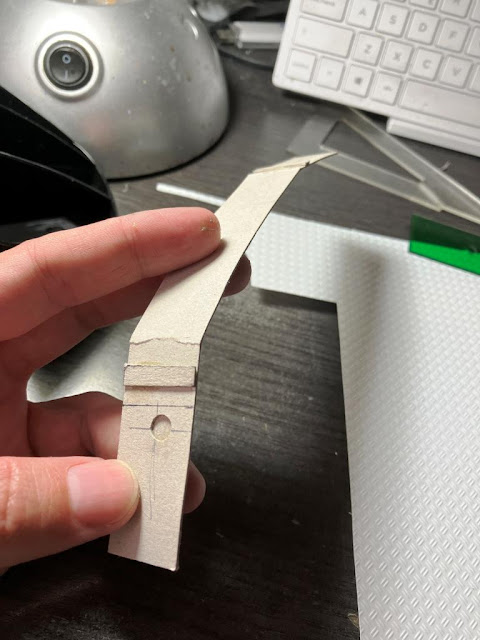
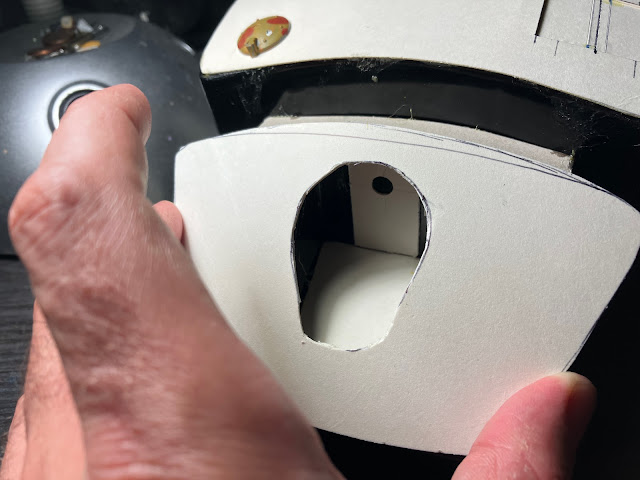
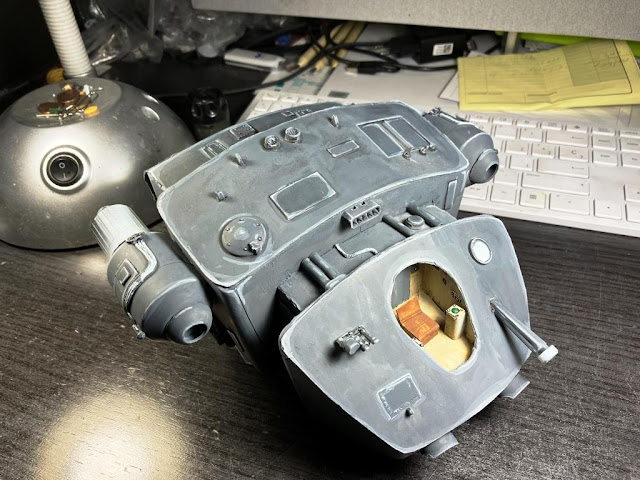
Final stage: the landing gear. No sweat, just give me some more cardboard:
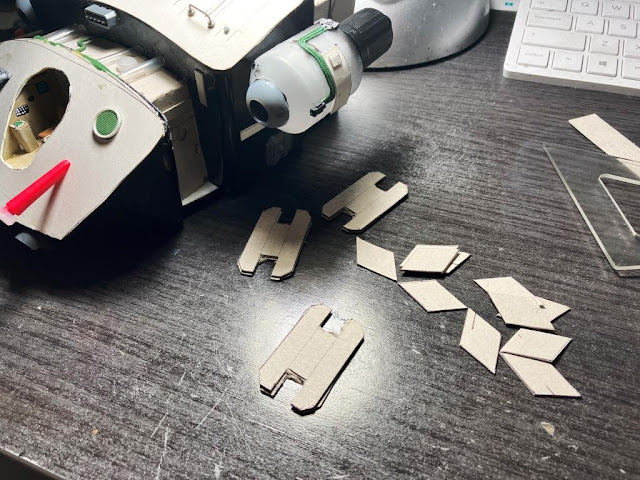 |
Two layers on every piece
|
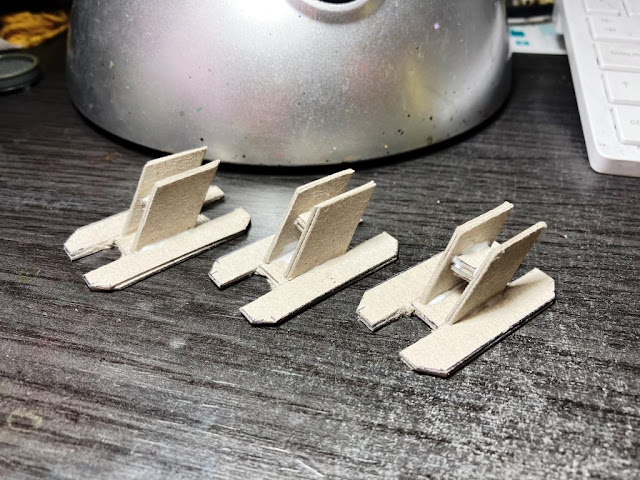 |
Crappy yet functional
|
They are sturdy enough for their purpose. In fact cardboard offers a lot of solutions for many problems. As said above, it's so underrated!
Here you have, the finished ship!
 |
It's so awful that it's beautiful
|
It's shabby, I'll give you that, but that's precisely part of its charm! I mean, it's kind of a trope itself in sci-fi, the old, ugly ship, on the edge of being sent to the scrapyard. Oh, now I'm perpetuating cliches!
Whatever. Let's get some paint on this piece of junk!
 |
She finally looks like something when primed!
|
Time for an embarrassing confession...
 |
This is my largest brush
|
Right, I'm wild crazy enough to do that. I thought that was already settled by now. So, some hours later...
 |
Shades and repeat the process!
|
Some more hours later...
 |
No, I wouldn't define my laugh as 'maniac'
|
I'm keeping her in a kind of dark-ish scale of colours, but I don't want to go too dark (or even worse, too grimdark!). In fact, don't you think she looks like... like a...
 |
...a chibi Serenity!!
|
Dammit, I cannot unsee it now.
I painted the rear ramp, as it was too dull:
 |
Yes, I should have done it 3D, but I'm way too lazy
|
Some more colour! And a few decals!
 |
Serenity so kawaii!
|
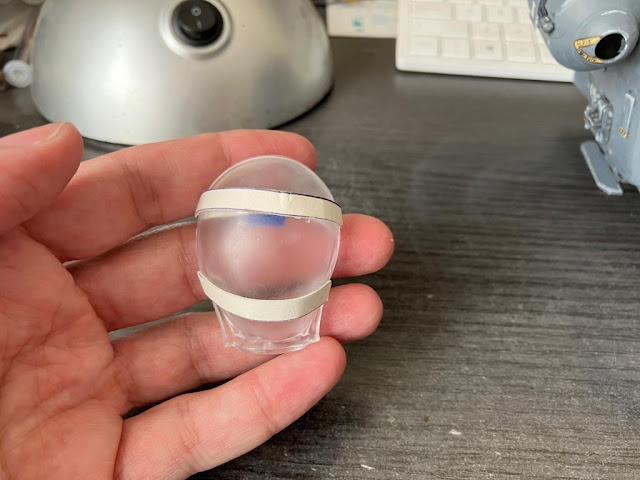
OK, now I faced an unexpected problem, that in fact made me take a different path and change my original plans. I tried to clear a bit the translucent canopy, in order to make it a little bit more transparent. I read that brushing some toothpaste on the piece would do fine. So I tried!
Spoiler: It went wrong.
 |
After the first attempt it was more opaque
|
 |
After three attempts I got this shit
|
Then, science is based on observation and experimentation. Trust me, I had my share of science (sigh). The good part of this is that the canopy now smells great! I won't need to sculpt an air freshener to hang from the rearview mirror!
Of course this all means that I needed to take a different approach.
Deep breath.
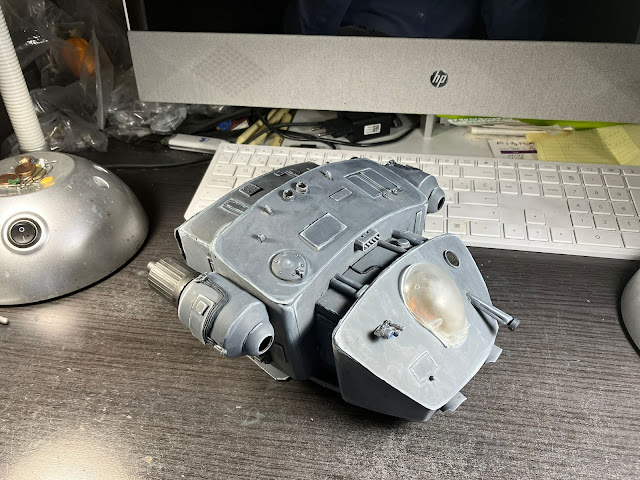
My only choice was painting it all as if it was glass. But, as shabby as the interior of the cabin was, once it was done I really didn't want to cover it definitely and lose the whole piece. So I made my choice.
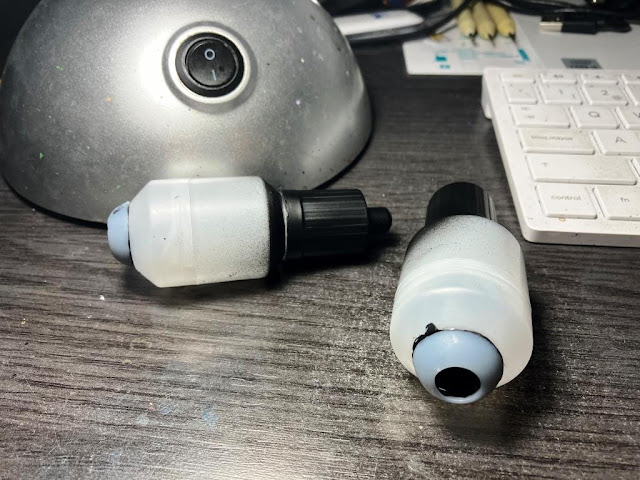
Magnets!
 |
Smallest magnets I could find
|
 |
Some cardboard strips
|
 |
And some weird bits cut out from a sprue!
|
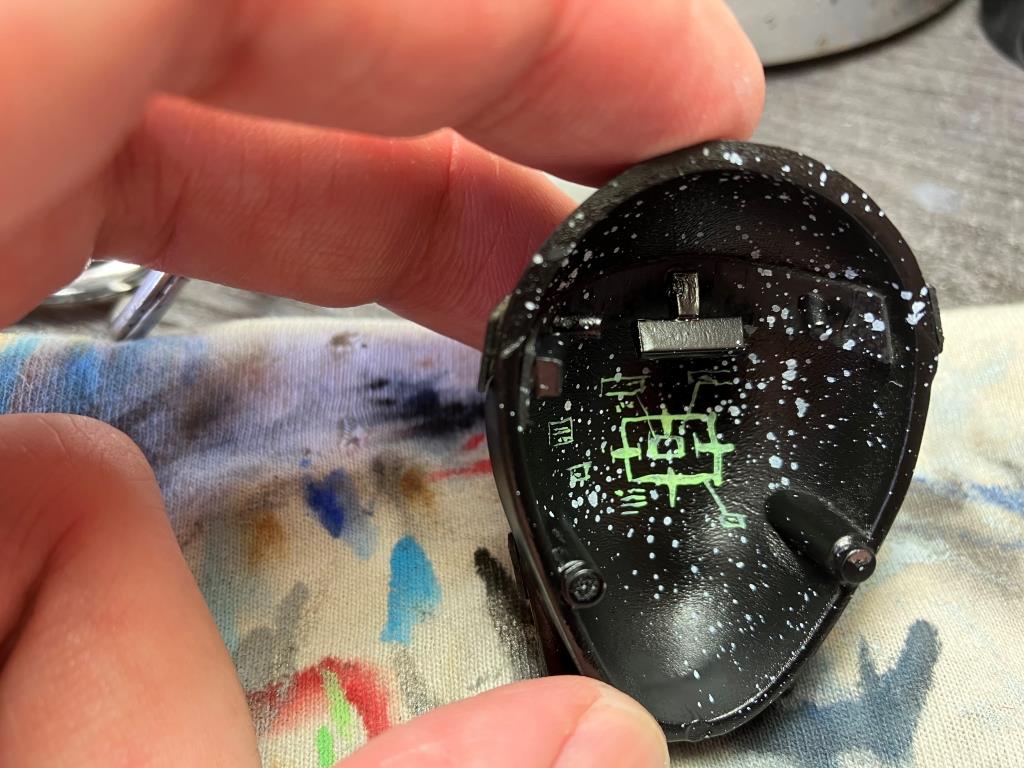
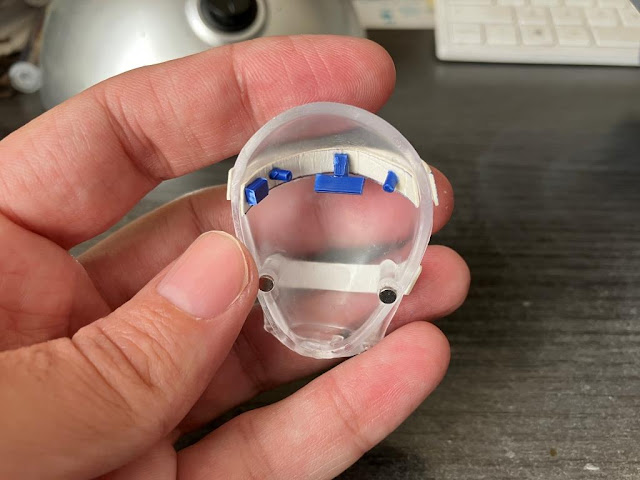
Of course if I was doing a detachable canopy, it had to be detailed in the inside!
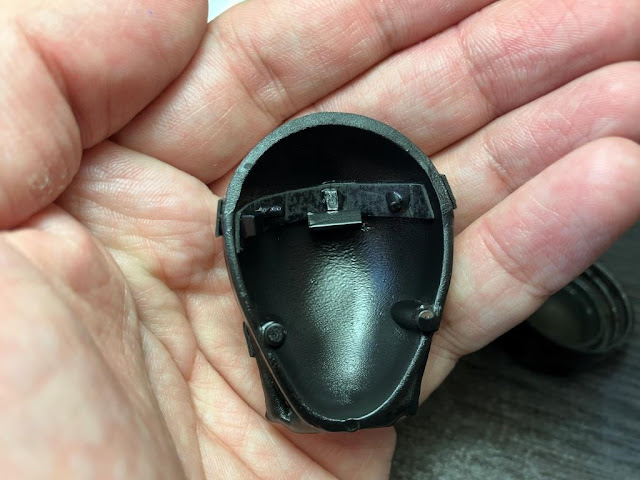 |
First of all, everything primed in black
|
 |
| Stars! |
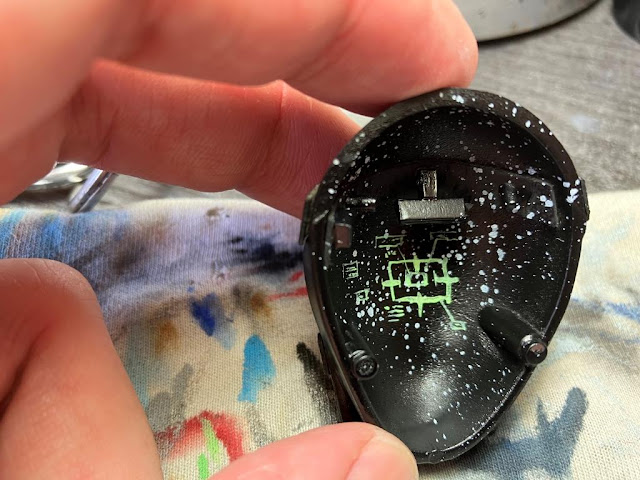 |
Random guiding systems and stuff
|
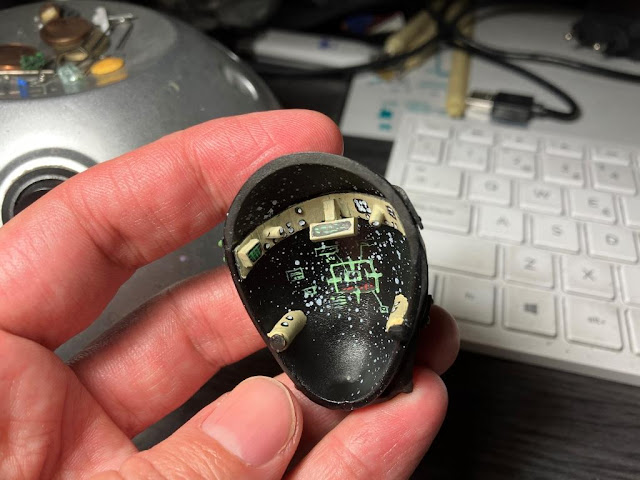 |
Ahh, the buttons the pilot is clicking!
|
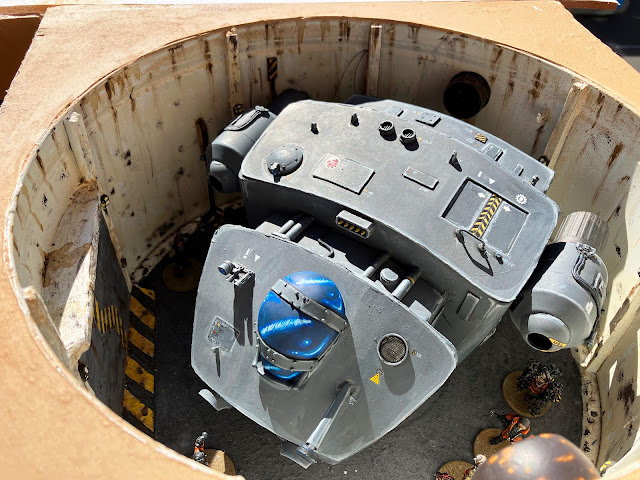
Then the outside. My recipe for glass is quite easy. Dark blue and then lighter hues to make reflections.
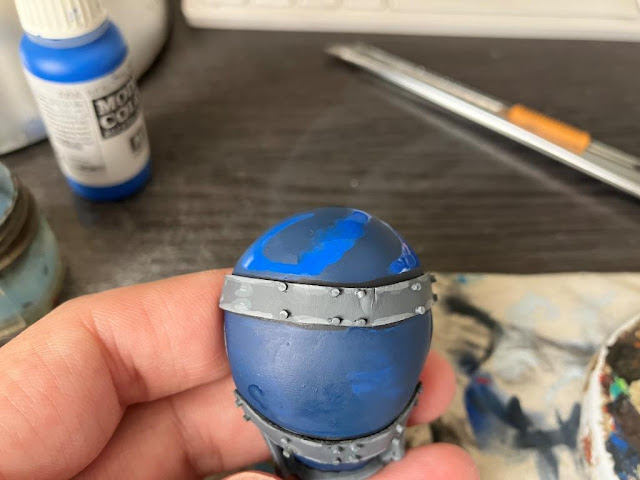 |
Kind of comic book effect, but it works for me
|
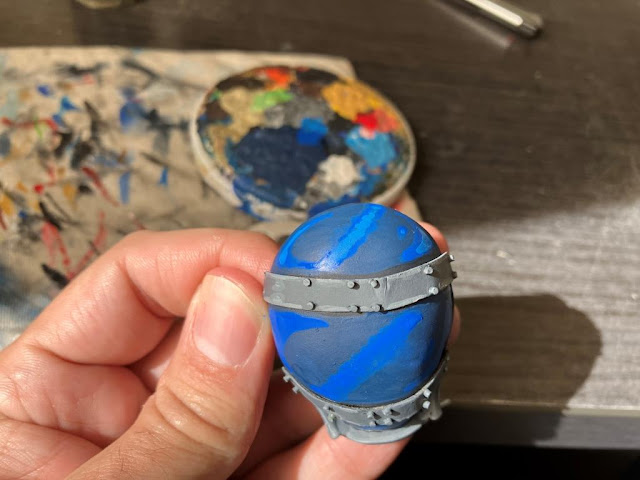 |
Lighter blue
|
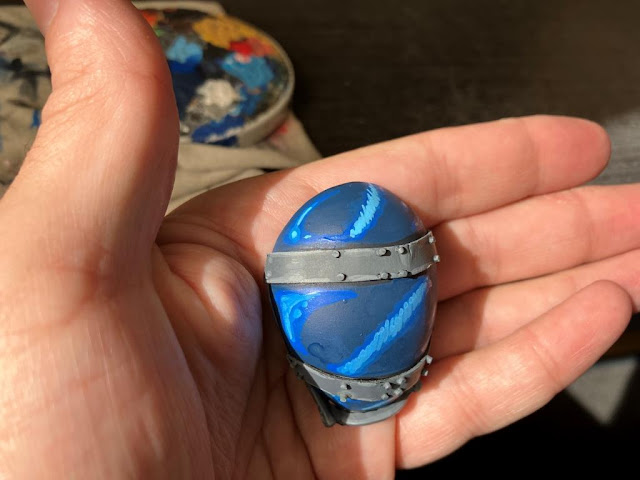 |
Again! Even lighter! Next step is just almost pure white and...
|
 |
| Finished! |
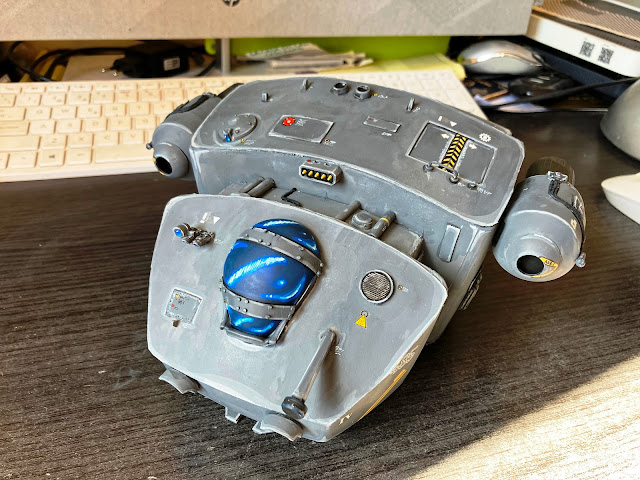
I also added a small HUD on the pilot's desk, some kind of holoscreen.
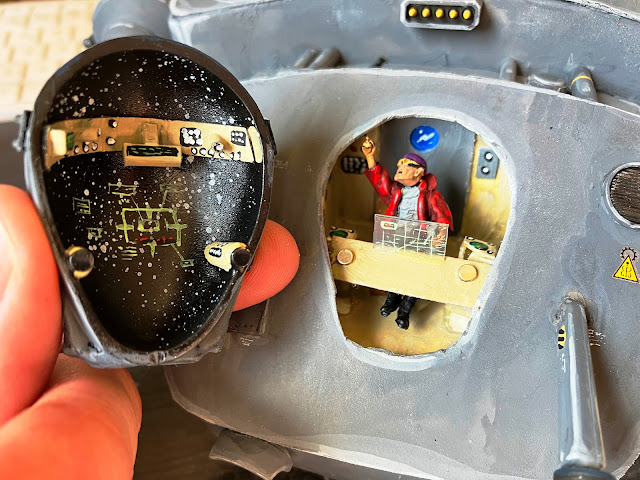 |
Still check. Check. Check
|
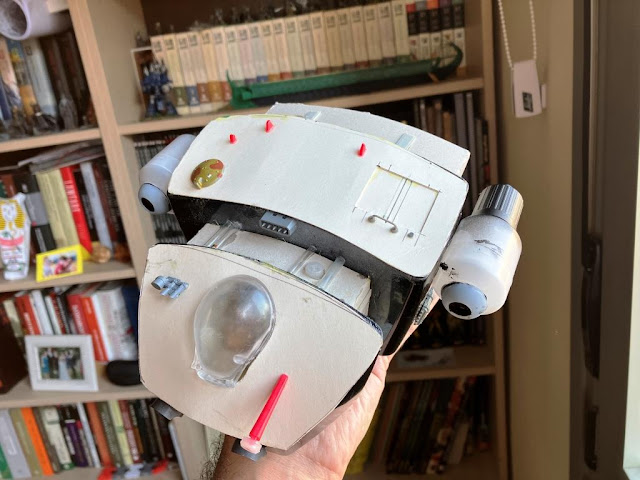
Here you have the space van from different angles. If you look closer you will see my usual signs in Gothic. Aeris ductus (Air intake), Cave pedes (watch your step), Non gradere (no step), Cautio (Caution) and this time I have added Abite (Stay away) on the rear ramp.
There's little else I can add. Just a final pic, as I have come to a terrible revelation...
 |
I need a bigger spaceport on my board!!!
|
Oh, well, a final pic. A final, final pic, this time it's true. Just to see the size of the ship, a comparison shot:
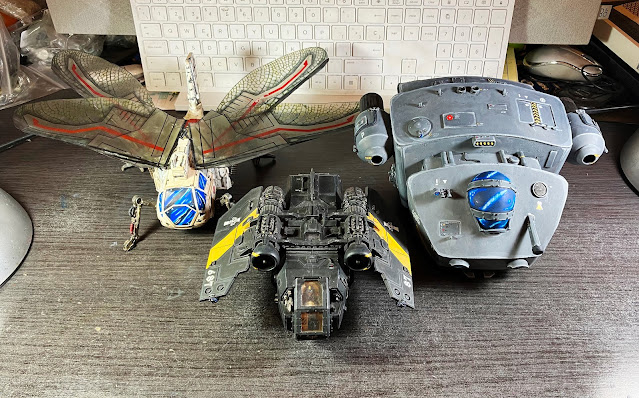 |
Suberian Airlines
|
That's all! I believe I have to give the ship a name. Being a chibi Serenity, I don't know, I guess the Calmy could be an option. The So-so. The Easy-ish. Oh, I guess I'm better taking your suggestions!! :D