
Okay, let's go on brushes with the soldier.
The first steps bear no mistery. White primer and then a first colour layer to give consistence later.
 |
| Custard camo pattern |
After a chocolat brown wash, I gave a layer of Citadel Bleached Bone (whatever that colour is named now).
 |
| Getting paler... |
And then the real base layer, a mix of Bleached Bone and a little Vallejo flat grey.
 |
| ... and paler. |
Now, for the camo itself. I didn't even try to mimic the pixels pattern. It looks really cool, yes, but I simply can't paint pixels and square angles this size. So I just painted small irregular spots with no apparent order, trying to make it similar to the real one.
 |
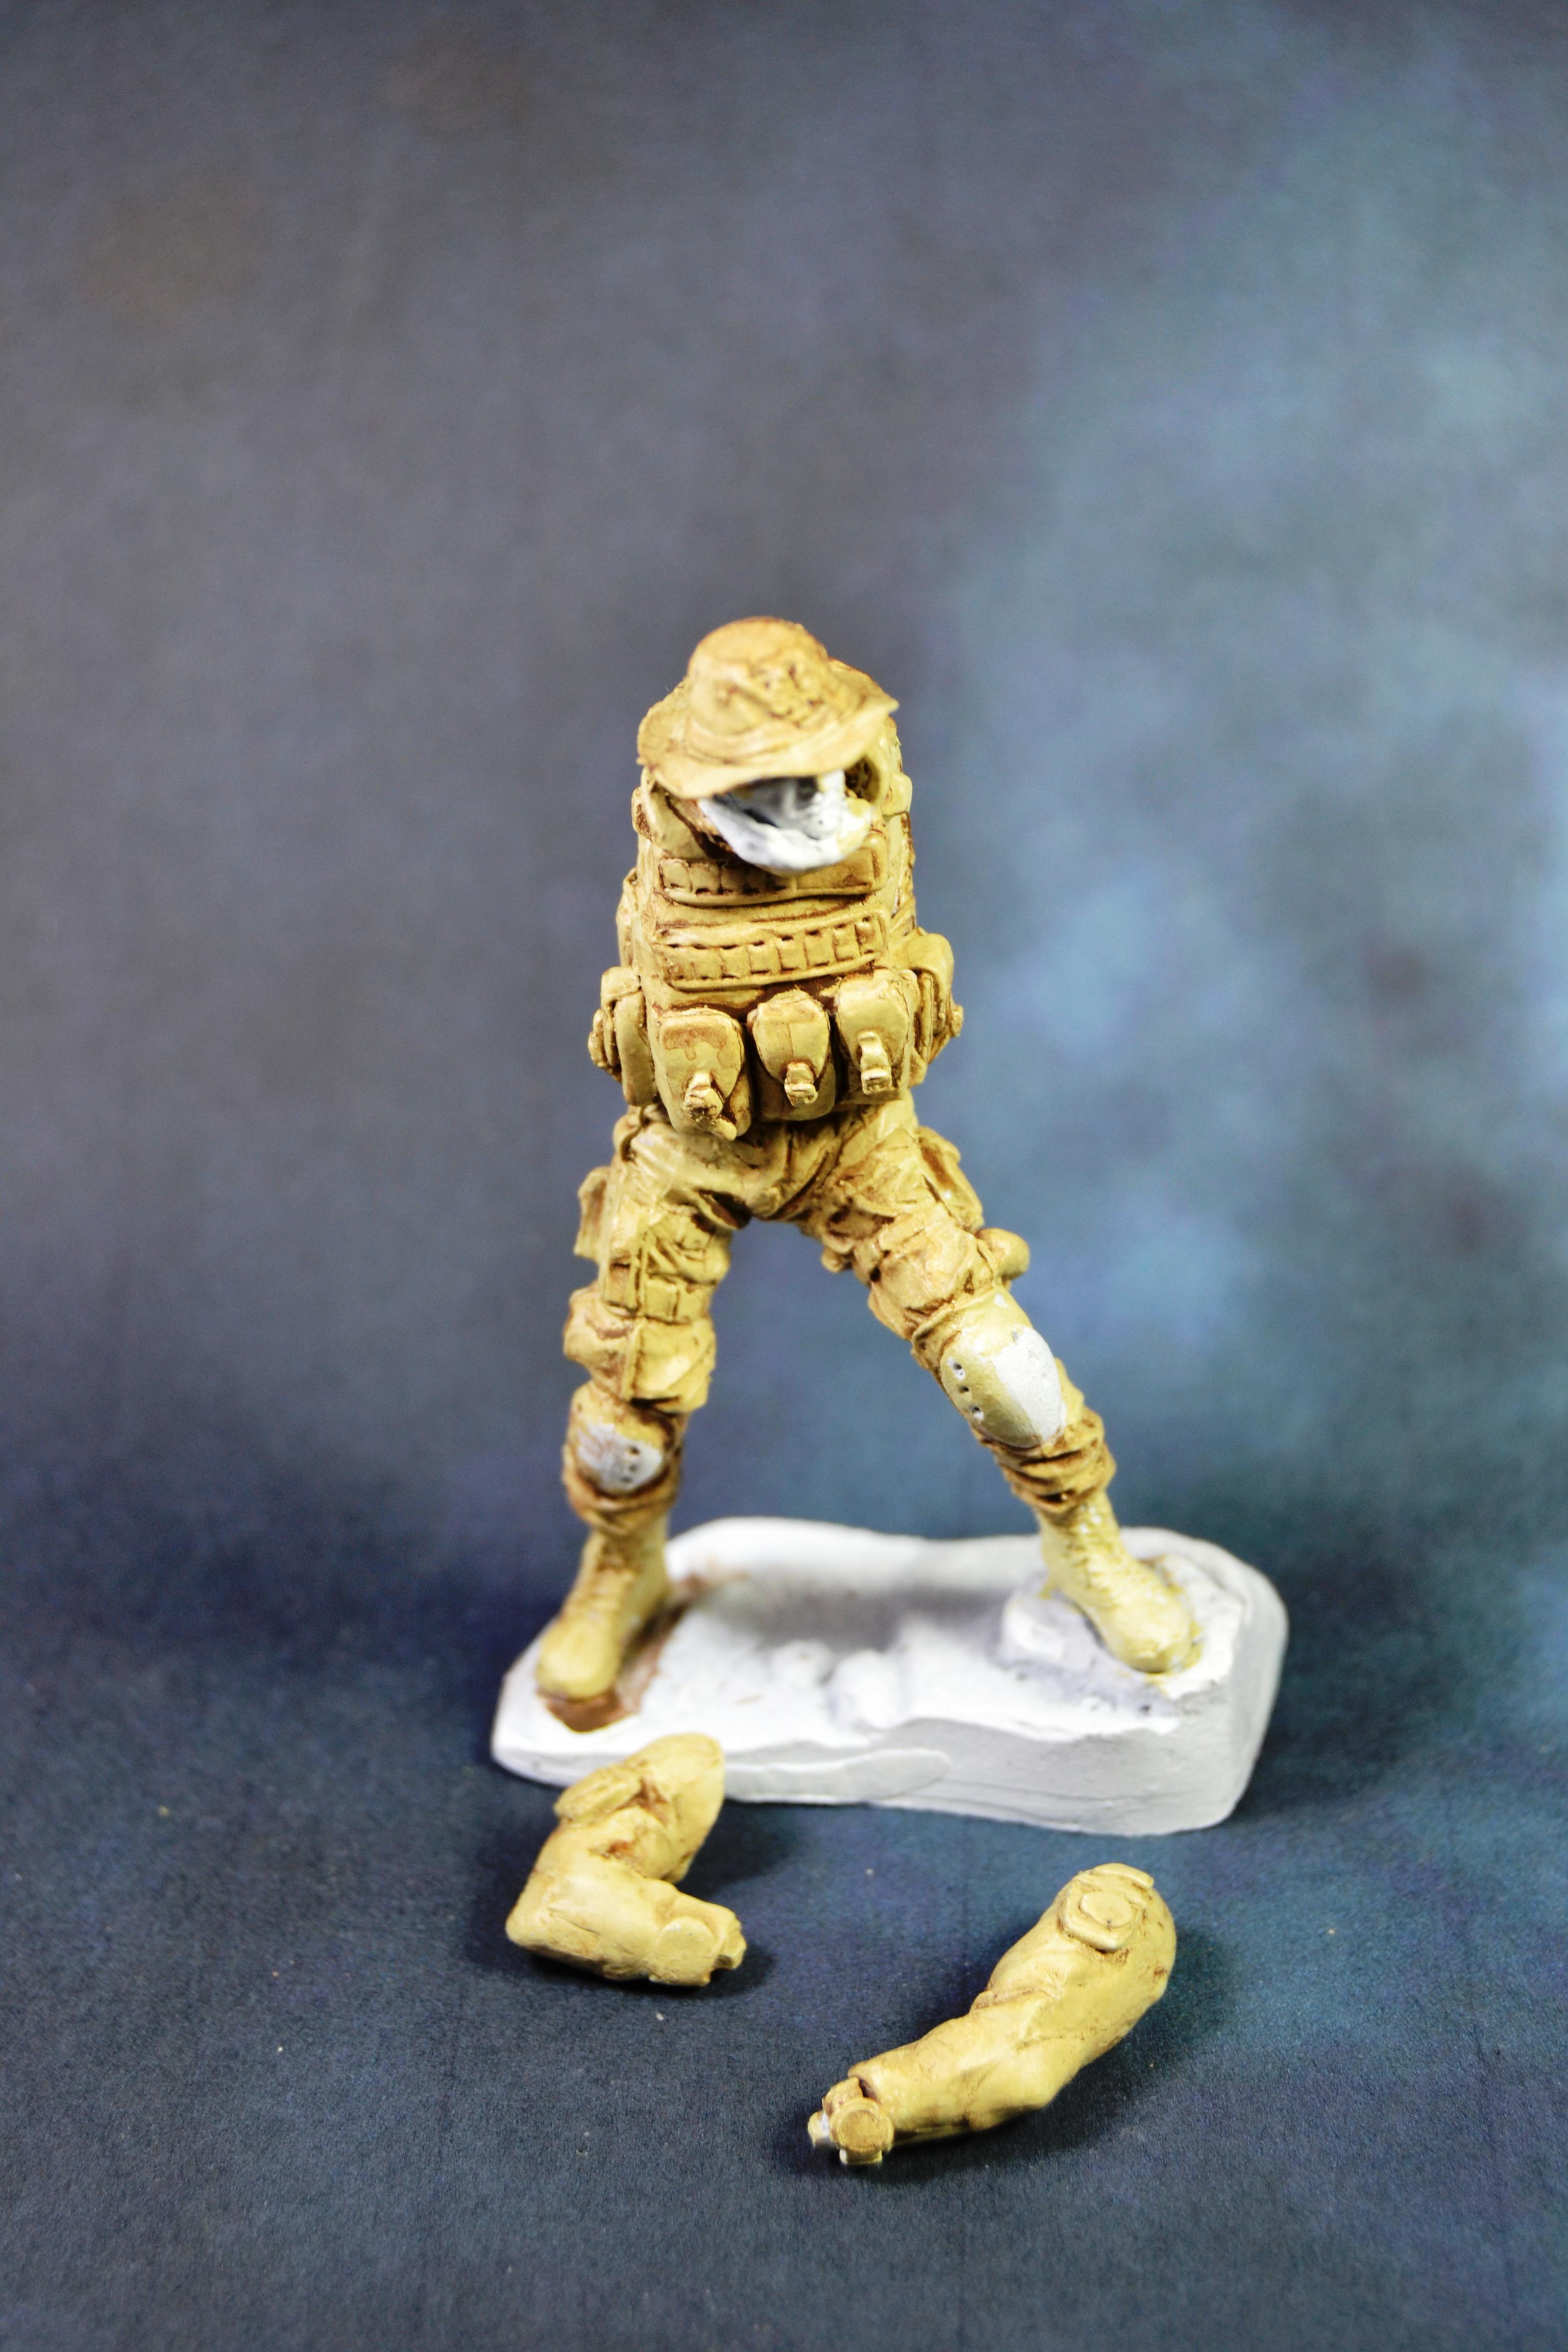
| First layer of spots, Vallejo Sand |
I repeated the scheme again, this time with Vallejo chocolat brown:
 |
| Et voilà! |
Shading and highlighting is difficult on a camo pattern model, but I tried it slightly. With this I consider finished the step one here. Next one will be the face, accessories and so.
Well, what do you think? Do you like where is this going to?
I can only say you can end up with a real winner there if you take your time... :-)
ReplyDeleteGreat work!
Patience, I still have to cultivate my patience...
ReplyDeleteThis is quite a enjoyable model anyway; I have little time now and I can only make slow progress looking for spare moments for painting.
I'm glad you like it, thanks!
Wow, it´s looking already very well!! Besides, the putty-work looks totally the part once painted :)
ReplyDeleteThank you! The original model is just great, so it's no big deal from my part. I promise you will see it finished quite soon!
ReplyDelete